Introduction
phpMyAdmin is a free and open source administration tool for MySQL and MariaDB. As a portable web application written primarily in PHP, it has become one of the most popular MySQL administration tools, especially for web hosting services. This tutorial gives a basic overview of how to secure phpmyadmin with Nginx on CentOS 7.
Prerequisites
-
Make sure you are logged into your server with a
sudouser. -
Install LEMP Stack on CentOS 7. Follow the tutorial on Install LEMP Stack on CentOS 7.
Step 1 - Install phpMyAdmin
phpMyAdmin is not available in the default CentOS 7 repository, so we will use the EPEL repositories. To add the CentOS 7 EPEL repository, use the following command:
yum install epel-releaseNow that you have access to the EPEL repository, install phpMyAdmin with:
yum install phpmyadminThe installation will now complete.
On the Nginx web server, we will create a symbolic link of the phpMyAdmin installation files to our Nginx web document root directory to find and serve the phpMyAdmin files correctly (i.e. /usr/share/nginx/html) by running the following command:
ln -s /usr/share/phpMyAdmin /usr/share/nginx/htmlFinally, restart Nginx and PHP-FPM to apply changes.
systemctl restart nginx
systemctl restart php-fpm
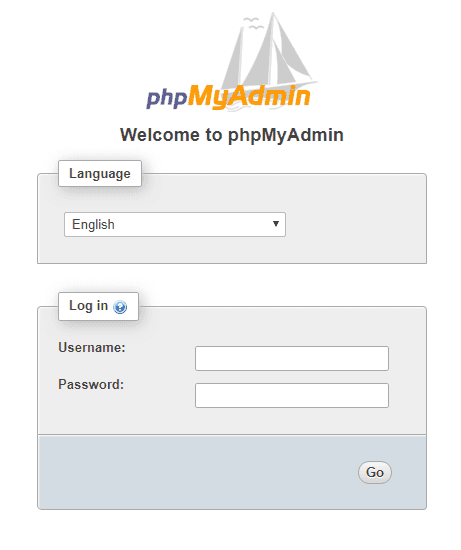
Our phpMyAdmin installation is now operational. To access the interface, go to your server's domain name or public IP address followed by /phpMyAdmin, in your web browser:
http://server_domain_or_IP/phpMyAdminStep 2 - Change Login URL
On the Nginx web server, we created a symbolic link of the phpMyAdmin installation files to our Nginx document root directory (i.e. /usr/share/nginx/html) in an earlier step.
To change the URL where our phpMyAdmin interface can be accessed, we simply need to rename the symbolic link by typing the following command:
Note: in this guide, we will name our access location /my.
cd /usr/share/nginx/html
mv phpMyAdmin my
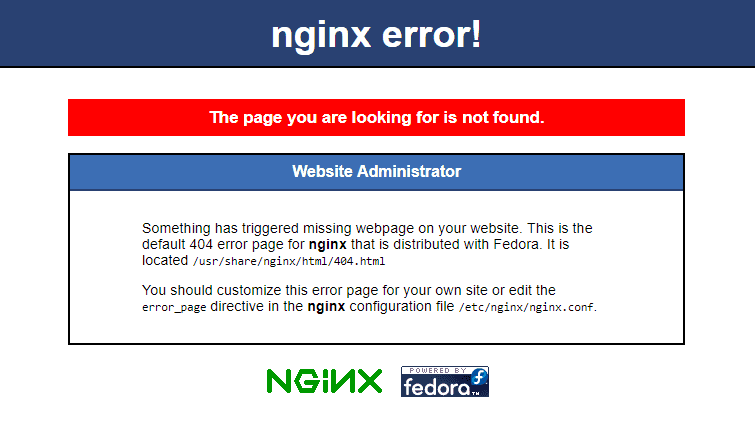
Now, if you go to the previous location of your phpMyAdmin installation, you will get a 404 error:
http://server_domain_or_IP/phpMyAdminHowever, your phpMyAdmin interface will be available at the new location we selected:
http://server_domain_or_IP/myStep 3 - Setup a Web Server Authentication Gate
To provide an additional layer of security, we can set up authentication in Nginx.
Before we do this, we will create a password file that will store our authentication credentials.
We can generate the .htpasswd file. Simply change holu to the username you require.
htpasswd -c /etc/nginx/.htpasswd holuSample Output:
# htpasswd -c /etc/nginx/.htpasswd holu
New password:
Re-type new password:
Adding password for user holu
There should now be a .htpasswd file containing your username and encrypted password. You can check with:
cat /etc/nginx/.htpasswdSample Output:
username:$apr1$vXURQ.rv$f6S86nCX.fKfjbYNTUPzV.Now we are ready to modify our Nginx configuration file. Open this file in your text editor to get started:
vi /etc/nginx/conf.d/default.confWithin this file, we need to add a new location section. This will target the location we chose for our phpMyAdmin interface (we selected /my in this tutorial).
Create this section within the server block, but outside of any other blocks. We will put our new location block below the location / block in our example.
Within this block, we need to set the value of a directive called auth_basic to an authentication message that our prompt will display to users. We do not want to indicate to unauthenticated users what we are protecting, so do not give specific details. We will just use "Admin Login" in our example.
We then need to use a directive called auth_basic_user_file to point our web server to the authentication file that we created. Nginx will prompt the user for authentication details and check that the inputted values match what it finds in the specified file.
After we are finished, the file should look like this:
server {
    ...
    location /my {
        auth_basic "Admin Login";
        auth_basic_user_file /etc/nginx/.htpassword;
    }
    ...
}
Save and close the file when you are finished.
To implement our new authentication gate, we must restart the web server:
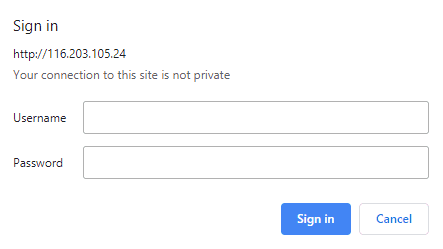
systemctl restart nginxNow, if we visit our phpMyAdmin location in our web browser. you should be prompted for the username and password you added to the .htpassword file:
http://server_domain_or_IP/myOnce you enter your credentials, you will be taken to the normal phpMyAdmin login page and you can login to phpMyAdmin.
Conclusion
Congratulations, you have successfully installed and secured phpMyAdmin with nginx on CentOS 7.


