Introduction
Matomo, formerly Piwik, is a free and open source web analytics application developed by a team of international developers, that runs on a PHP/MySQL webserver. It tracks online visits to one or more websites and displays reports on these visits for analysis.
Prerequisites
To run Matomo on your server, you need:
-
Webserver such as Apache, Nginx, etc.
-
PHP version 5.5.9 or greater
-
MySQL version 5.5 or greater, or MariaDB
-
(enabled by default) PHP extension pdo and pdo_mysql, or the mysqli extension.
According to the Matomo Requirements using PHP 7.x, MariaDB and PHP Extension such as "PHP GD Extension" is recommended.
Step 1 - Installing LEMP Stack
As mentioned in the requirements section of the tutorial, a LEMP stack (Linux, Nginx, MySQL/MariaDB and PHP) is required to run Matomo on the server. We will start with installing Nginx web server:
yum install epel-release
yum install nginx
Start and enable Nginx on boot:
systemctl start nginx
systemctl enable nginx
Install MariaDB database server using the following command:
yum install mariadb-server mariadbAfter finish installation, start and enable MariaDB service:
systemctl start mariadb
systemctl enable mariadb
Secure MariaDB with this command:
mysql_secure_installationThe prompt asks you for your current MYSQL root password. At this stage you won’t have one yet, so just leave it blank by hitting enter. When you are prompted to set a root password, just type Y and follow the instructions to set up your root password and make note of it.
Output:
$ sudo mysql_secure_installation

NOTE: RUNNING ALL PARTS OF THIS SCRIPT IS RECOMMENDED FOR ALL MariaDB
      SERVERS IN PRODUCTION USE!  PLEASE READ EACH STEP CAREFULLY!

In order to log into MariaDB to secure it, we'll need the current
password for the root user.  If you've just installed MariaDB, and
you haven't set the root password yet, the password will be blank,
so you should just press enter here.

Enter current password for root (enter for none):
OK, successfully used password, moving on...

Setting the root password ensures that nobody can log into the MariaDB
root user without the proper authorisation.

Set root password? [Y/n] y
New password:
Re-enter new password:
Password updated successfully!
Reloading privilege tables..
 ... Success!
PHP version 7.x is not available in the default CentOS 7 repositories so we will use the Remi repository.
yum install http://rpms.remirepo.net/enterprise/remi-release-7.rpm
yum install yum-utils
yum-config-manager --enable remi-php72
Install PHP and the required PHP extensions using the following command:
yum install php php-mysql php-fpm php-mbstring php-xml php-gdTo configure the PHP processor, open the main php-fpm configuration file:
vi /etc/php.iniFind this line:
;cgi.fix_pathinfo=1And replace with:
cgi.fix_pathinfo=0Save and quit.
Next, open the php-fpm configuration file www.conf:
vi /etc/php-fpm.d/www.confFind the line that specifies the listen parameter, and change it so it looks like the following:
listen = /var/run/php-fpm/php-fpm.sockNext, find the lines that set the listen.owner and listen.group and uncomment them. They should look like this:
listen.owner = nginx
listen.group = nginx
Lastly, find the lines that set the user and group and change their values from "apache" to "nginx":
user = nginx
group = nginx
After you save and quit the wwww.conf file, enable and start the PHP-FPM service with:
systemctl enable php-fpm
systemctl start php-fpm
To configure Nginx to process PHP pages, edit /etc/nginx/conf.d/default.conf to:
vi /etc/nginx/conf.d/default.confserver {
listen 80;
server_name server_domain_name_or_IP;
root /usr/share/nginx/html;
index index.php index.html index.htm;
location / {
try_files $uri $uri/ =404;
}
error_page 404 /404.html;
error_page 500 502 503 504 /50x.html;
location = /50x.html {
root /usr/share/nginx/html;
}
location ~ \.php$ {
try_files $uri =404;
fastcgi_pass unix:/var/run/php-fpm/php-fpm.sock;
fastcgi_index index.php;
fastcgi_param SCRIPT_FILENAME $document_root$fastcgi_script_name;
include fastcgi_params;
}
}Replace the value of server_domain_name_or_IP with the appropriate domain name or IP address.
Save and quit, and restart Nginx:
systemctl restart nginxStep 2 - Installing Matomo
Matomo is not available in the official CentOS 7 repositories, so we will have to download Matomo from the official website and extract the Matomo archive to a directory on the server by executing the following commands:
cd /usr/share/nginx/html/
wget https://builds.matomo.org/matomo-latest.zip
unzip matomo-latest.zip
rm matomo-latest.zip -y
mv matomo/* .
rmdir matomo
Change ownership of the /usr/share/nginx/html/ directory to nginx:
chown -R nginx:nginx /usr/share/nginx/html/Step 3 - Create a Database for Matomo
Log into MySQL with the root:
mysql -u root -pThis installation uses MariaDB as the backend of Matomo, so we need to create a MySQL database and user for the Matomo installation.
CREATE DATABASE matomo_db;
GRANT ALL ON matomo_db.* TO matomo_user@localhost IDENTIFIED BY 'YOUR-MATOMO-MYSQL-PASSWORD';
FLUSH PRIVILEGES;
quit;
Step 4 - Complete Matomo Web Installer Wizzard
Open web browser and access the Matomo Installation at http://YOUR-IP.
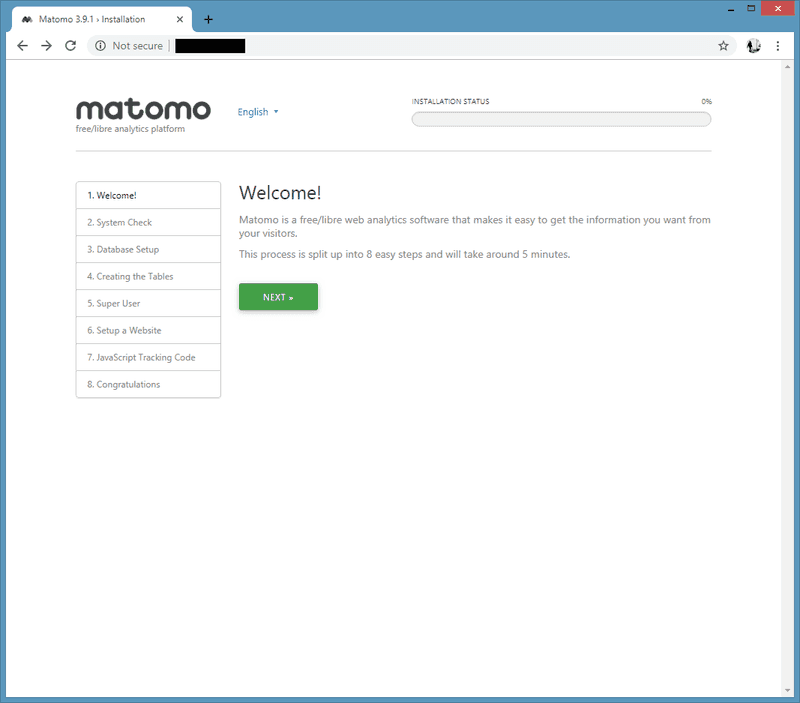
Matomo Setup Welcome Screen
This is the welcome screen of Matomo web installer. Go forward by clicking on the Next button.
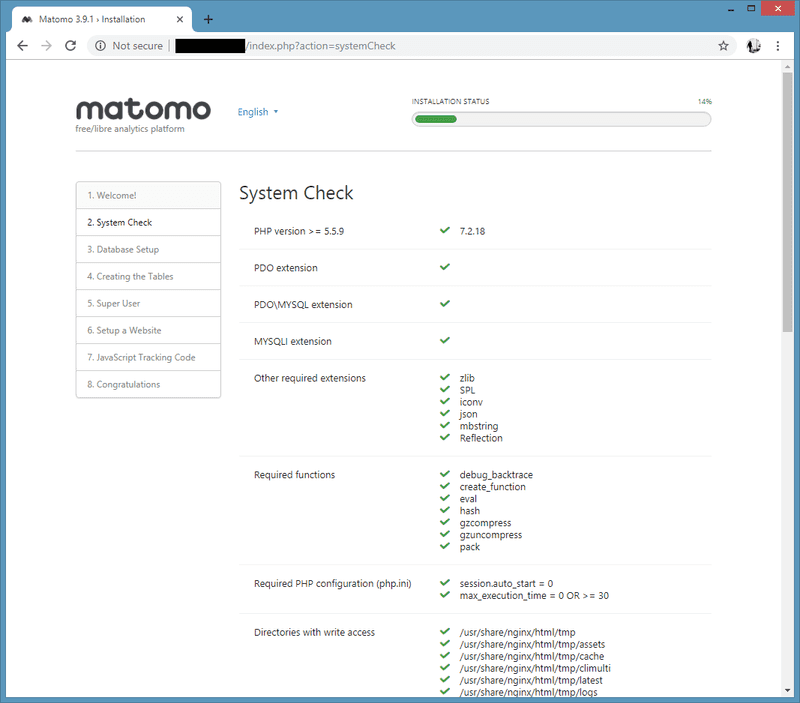
Matomo System Check
Check if your system has all the required packages, if everything is ok click Next.
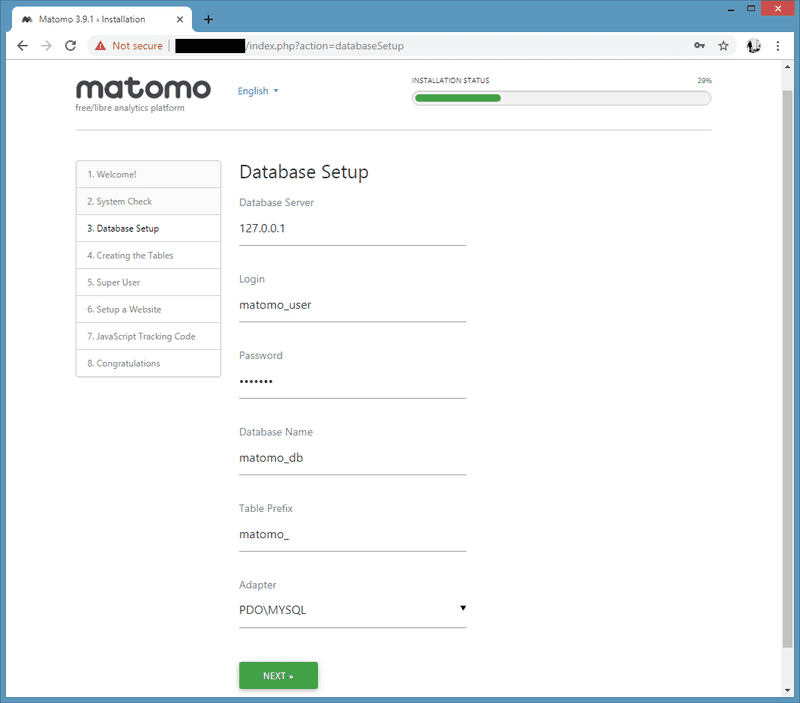
Matomo Database Setup
Enter your database information and click Next.
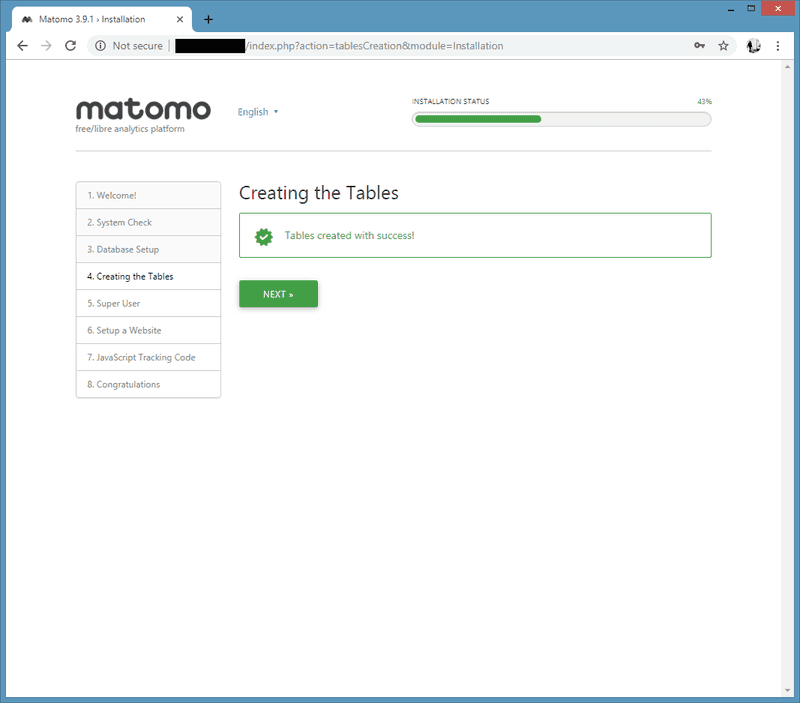
Creating the Tables
After importing the database, click Next.
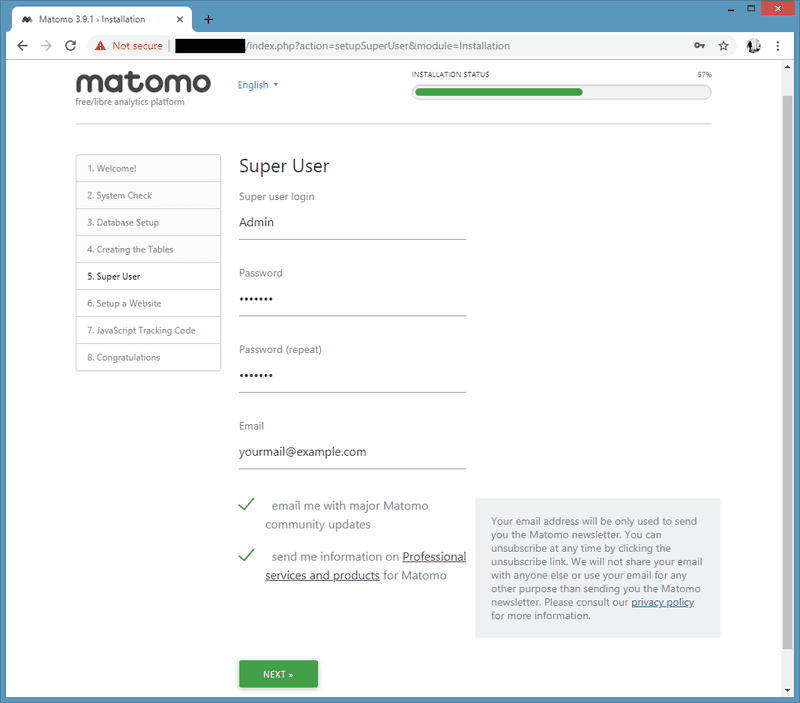
Super User
Enter your Username, Password and Email to login to the web interface. Go forward by clicking on the Next button.
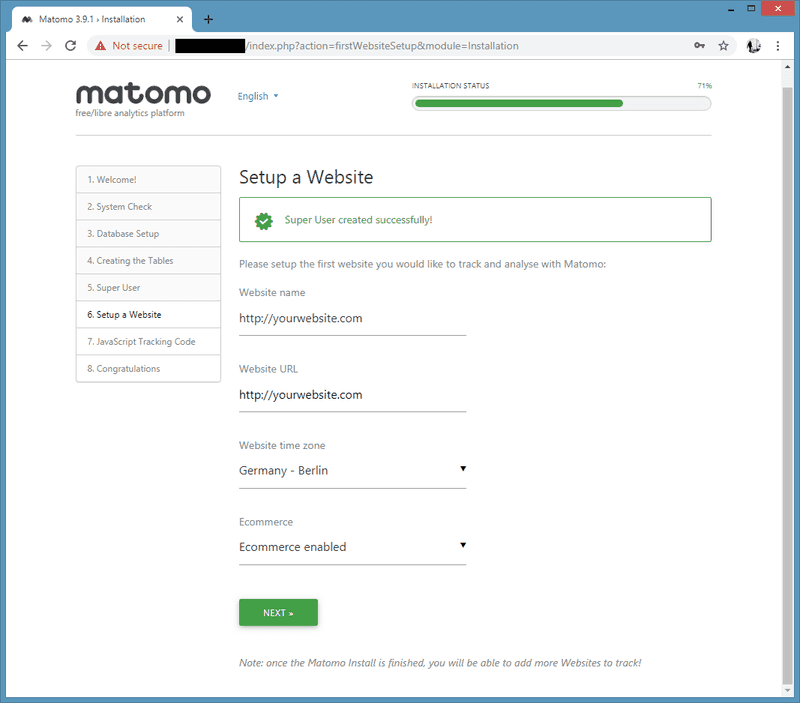
Setup a Website
Set your website and timezone in this step and click Next.
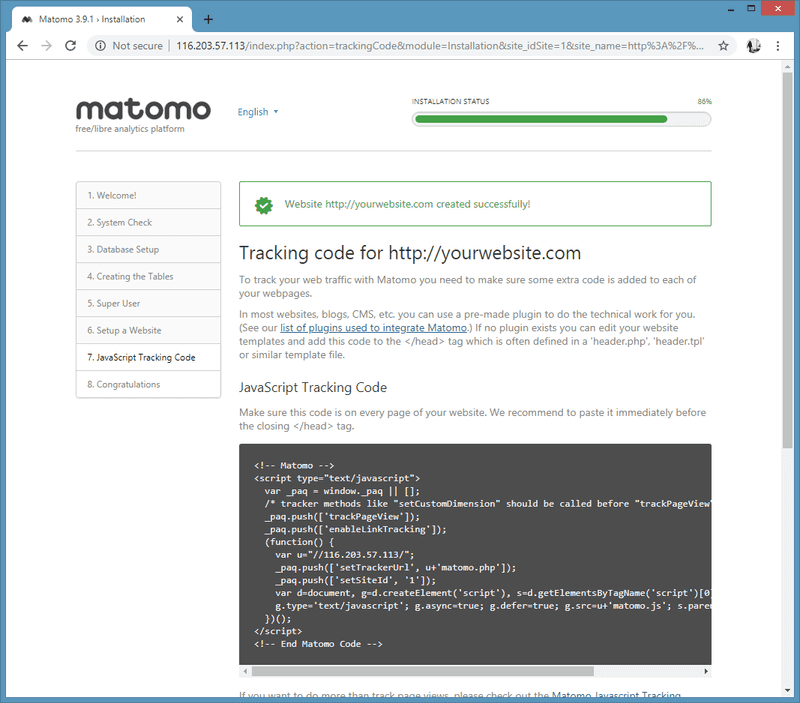
Javascript Tracking code
Get javascript tracking code for your website here and click on the Next button.
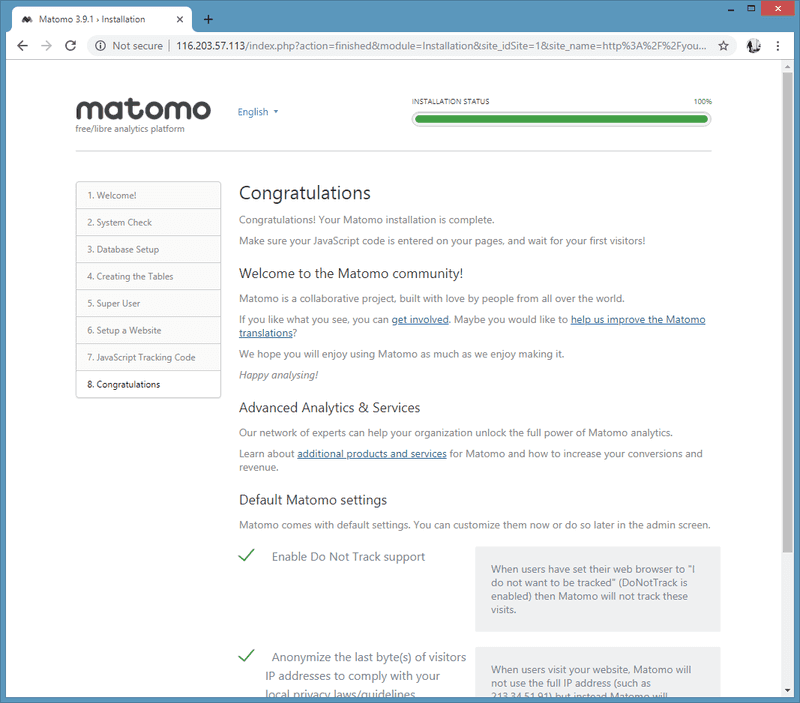
Congratulation
Your matomo installation is complete. Click Next to go to the login page.
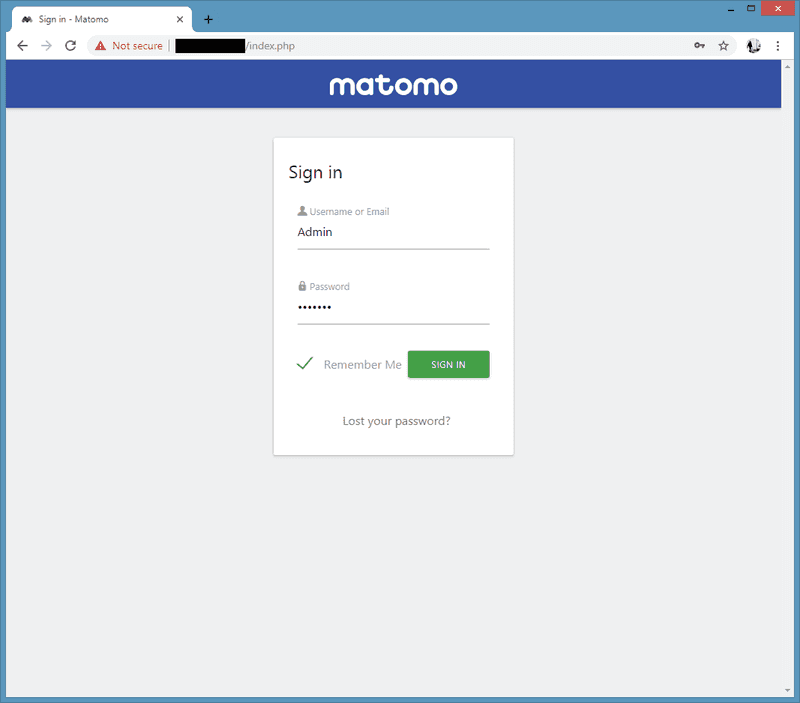
Sign in
Enter your username and password (Set in "Super User" step) and click on SIGN IN to login to the admin web interface.
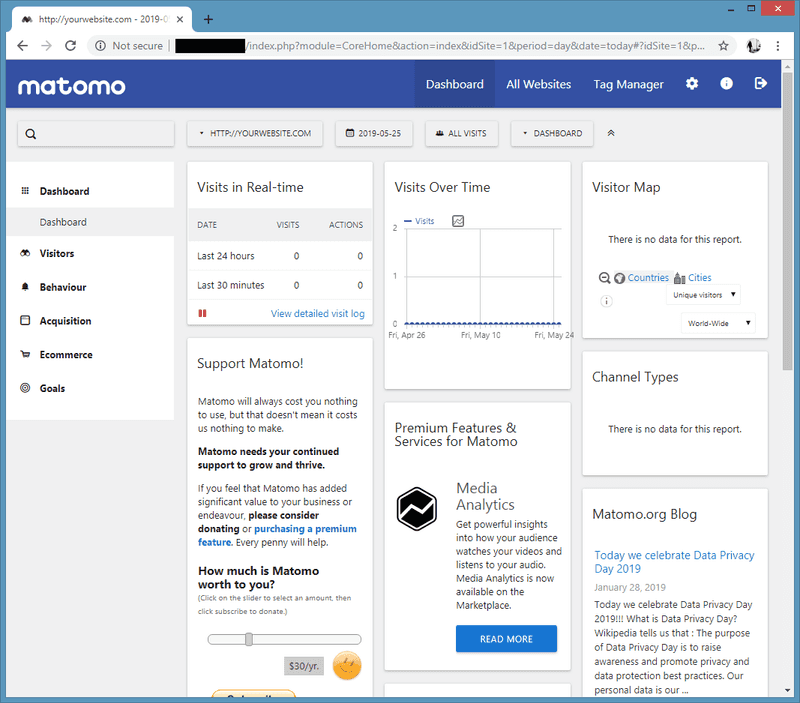
After successful login, you will see a Matomo dashboard like below.
Conclusion
That's it, now you should have successfully installed Matomo on your CentOS 7 server.
You can now check the Matomo Documentation and learn more about how to use Matomo.
