

Introduction
This tutorial explains how to self-host Seafile Server Community Edition with Docker, as explained in the official documentation, and how to access the data from external machines via the Seafile sync client and the Seafile drive client.
Seafile is an open-source project. You can find the repositories for each component here:
| Server | Sync Client (desktop) |
Drive Client (desktop) |
Drive Client (mobile) |
|
|---|---|---|---|---|
| Backend engine | seafile-server |
seafile |
seadrive-fuse |
|
| UI | seahub |
seafile-client |
seadrive-gui |
seadroid, seafile-iOS |
| Manuals | admin manual Docker image |
admin manual | user manual |
              ┌────────────────────────────┐
              │           Server           │
              │ -------------------------- │
              │ seafile-server  │ original │
              │     seahub      │   data   │
              └────────────────────────────┘
                      ↑↓           ↑↓
┌──────────────────────────┐   ┌────────────────────────┐
│  Windows machine (sync)  │   │  Linux machine (drive) │
│ ------------------------ │   │ ---------------------- │
│    seafile     │  synced │   │ seadrive-fuse │ cached │
│ seafile-client │   data  │   │ seadrive-gui  │  data  │
└──────────────────────────┘   └────────────────────────┘
Prerequisites
- A server that fulfills the system requirements
- Access to the root user or a user with sudo permissions
- A domain
- CLI tool
Note that you cannot view the files on your server because they are stored in blocks. If you need to access the files directly on the server, see the official documentation on the FUSE extension.
Example terminology
- Username: holu
- Server IP:
<your_server_ip>
Please replace holu with your username, and <your_server_ip> with the actual IP of your server in all examples.
Step 1 - Preparing system for Seafile
-
Set up DNS
Before you start, point your domain to the IP address of the server on which you plan to install Seafile.
Type: A
Name: seafile.example.com
Value: <your_server_ip>
Note that it can take several hours for the changes to apply.
-
Now, connect to the server.
ssh holu@<your_server_ip>
-
Install Docker
Install Docker as explained in the official Docker documentation or use the installation script for a quick start:
curl -fsSL https://get.docker.com -o get-docker.sh
sudo sh ./get-docker.sh --dry-run
sudo sh ./get-docker.sh
Once Docker is installed, add your user to the
dockergroup:sudo usermod -aG docker holuRun
exitand reconnect to the server to update the user groups.
-
Prepare the system
Docker will use several directories for persistent data. These directories will be accessible both from the Seafile containers and from the host system. Create the following directories:
sudo mkdir -p /opt/{seafile,seafile-data,seafile-mysql/db,seafile-caddy,seadoc-data}
Step 2 - Installing Seafile
-
Download files
For the most recent version, see the official Seafile documentation and the Docker image
seafileltd/seafile-mc.Go to
/opt/seafileand download the files needed for installation:Replace
13.0with the latest version.cd /opt/seafile RELEASE="13.0" sudo wget -O .env https://manual.seafile.com/$RELEASE/repo/docker/ce/env sudo wget https://manual.seafile.com/$RELEASE/repo/docker/ce/seafile-server.yml sudo wget https://manual.seafile.com/$RELEASE/repo/docker/seadoc.yml sudo wget https://manual.seafile.com/$RELEASE/repo/docker/caddy.yml
-
Generate a random string:
openssl rand -hex 32Copy the output. This will be the value of
JWT_PRIVATE_KEYin.env.
-
Now edit
.env:sudo nano /opt/seafile/.envEdit the following values:
Replace the placeholders with your own information.
SEAFILE_SERVER_HOSTNAME=seafile.example.com
SEAFILE_SERVER_PROTOCOL=https
JWT_PRIVATE_KEY=<your_openssl_rand_output>

SEAFILE_MYSQL_DB_PASSWORD=YourSecretPassword
INIT_SEAFILE_MYSQL_ROOT_PASSWORD=ROOT_PASSWORD

INIT_SEAFILE_ADMIN_EMAIL=admin@example.com
INIT_SEAFILE_ADMIN_PASSWORD=AdminSecretPassword
When
SEAFILE_SERVER_PROTOCOLis set to HTTPS, Seafile will use Caddy to manage Let's Encrypt certificates. For more information, see the official documentation.
-
Now that the environment variables are set, start Seafile:
cd /opt/seafile
docker compose up -d
Step 3 - Accessing the web interface
Check the logs of the web UI container, to see if it is already up:
docker logs seafile -fWhen it says Seahub is started, go to your domain:
https://seafile.example.comTo log in, enter the information you set in .env for INIT_SEAFILE_ADMIN_EMAIL and INIT_SEAFILE_ADMIN_PASSWORD.
Step 4 - Adding new users and libraries
In the web UI:
- Click on the user icon in the top right and click on "System Admin"
- In the left menu bar, select "Users"
- At the top, select "Add user" and create a new user. Example:
Email
holu@example.com

Name (optional)
holu
Now that you have a user, create a new library to test access from a client in the next step. In the web UI:
- Click on the user icon in the top right and click on "System Admin"
- In the left menu bar, select "Libraries"
- At the top, select "New Library". Set the newly created user as the owner.
Name
test

Owner (If left blank, owner will be admin)
holu
Now that you have a user to test external access, you can set up a client and use it to connect to your Seafile server.
Step 5 - Installing the client
For this step, you'll need a machine with a graphical desktop environment. We will configure this machine as a Seafile client that can access the data stored on your Seafile server.
Note that there are two different types of clients — sync and drive. See the official Seafile documentation to learn more about each option and their differences.
Biggest difference is what happens when you close the client connection:
| Sync client | drive client |
|---|---|
| Files in synced libraries are stored as normal local files, so they remain available when the client/server connection is closed. You can continue editing them offline. | Files are primarily stored on the server and accessed through SeaDrive on demand. They are not normally maintained as a complete local copy, although some files/data may be stored in the local cache, e.g. ~/.seadrive/data/file-cache on Linux. See also cache management on Windows, for example. |
| When the connection is restored, local changes that were made offline are synchronized with the server. | Normal access to the libraries and synchronization requires SeaDrive to be running and connected to the server. If the connection is unavailable, you cannot normally browse or modify the remote libraries through SeaDrive. |
Download the client
The easiest way to get the client, is to download the respective version for your machine from the official download list. For Linux, see also the note about AppImage.
After download, set up the client:
See also the official documentation for the sync client and the drive client.
Set up sync client
After installation, start the setup wizard.
-
Choose a default folder for Seafile
This will be the default storage location for synced libraries. Example:
/home/holu/Seafile/
├── synced-library-1
└── synced-library-2
-
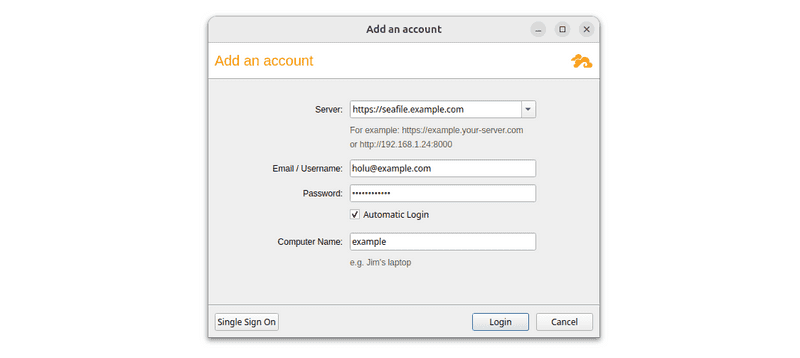
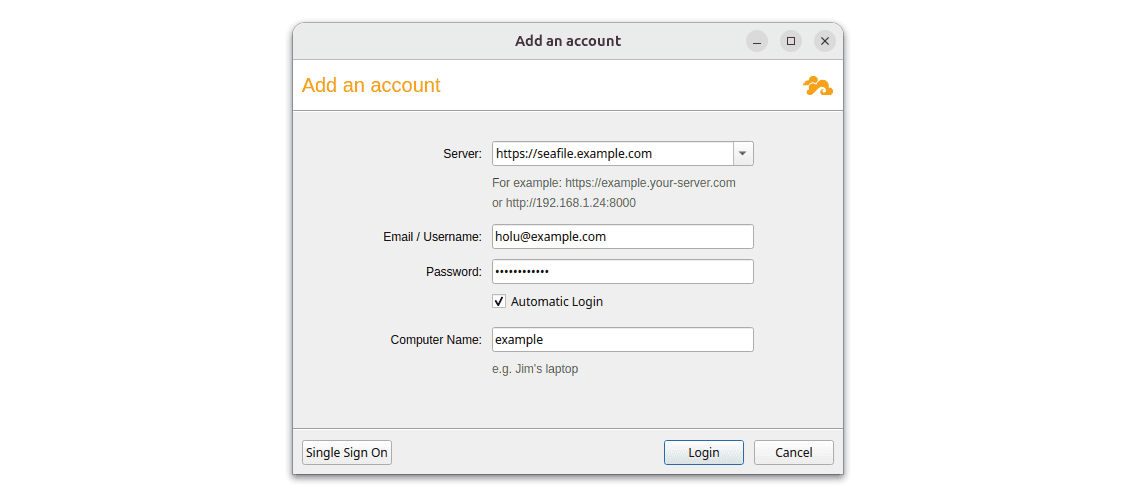
Enter the information for your server and the login credentials of the user created in the previous step via the web UI.
-
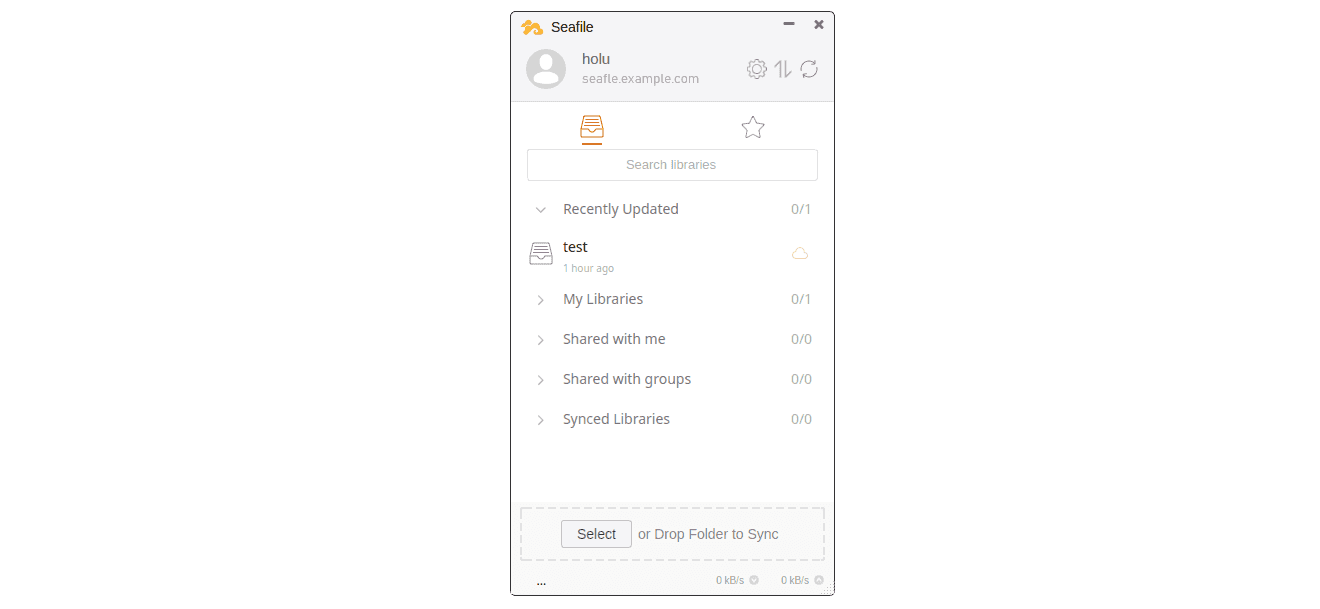
You should now see the libraries available to this user. Note that the data is not stored on your local device yet.
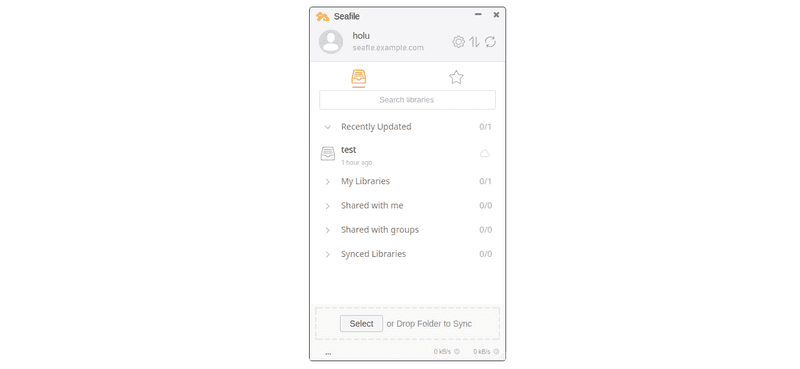
You should see the library
testwhich was created earlier.
-
To store the data of a specific library on your local device and have any changes within the library automatically synced between the server and your device, right click on the
testlibrary and select "Sync this library".You will be asked to select a local path. You can keep the default path that you set directly after download, e.g.
/home/holu/Seafile. Within this directory, Seafile will create a new subdirectory with the name of the synced library:/home/holu/Seafile/ └── testOnce you see a green cloud with a tick next to the library name, data should be synchronised automatically.
- To test the connection, you can create a new file on your local device, e.g. in
/home/holu/Seafile/test, and check if that file appears in the web UI atseafile.example.com. Reversibly, you can delete the new file in the web UI and check if it disappears on your local device as well. Note that it may take a minute to synchronize.
For information on read-only syncing, see the official documentation.
Set up drive client
After installation, start the setup wizard.
-
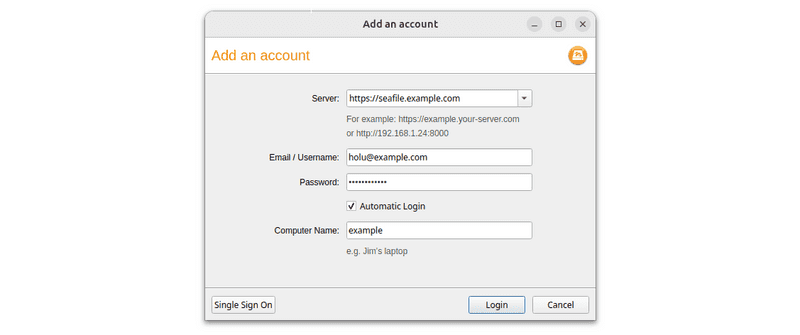
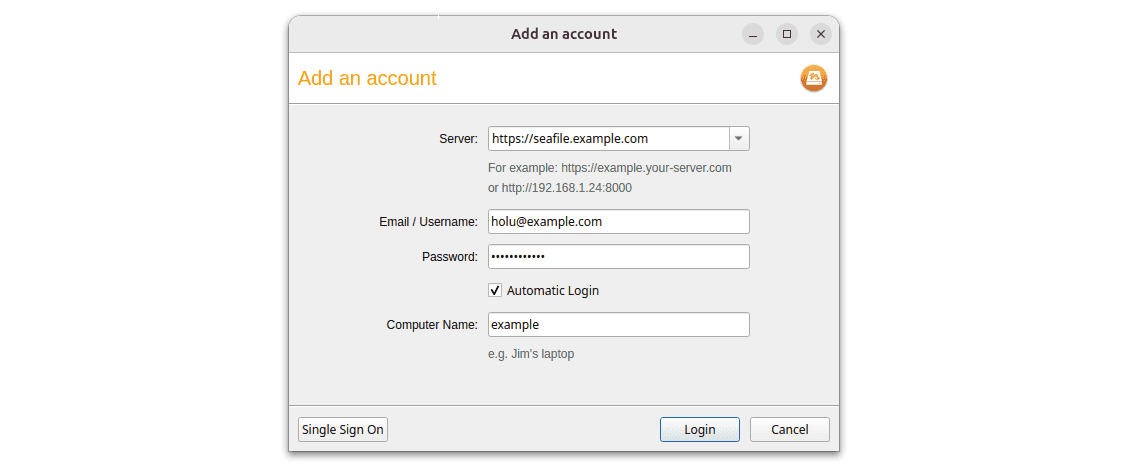
Enter the information for your server and the login credentials of the user created in the previous step via the web UI.
-
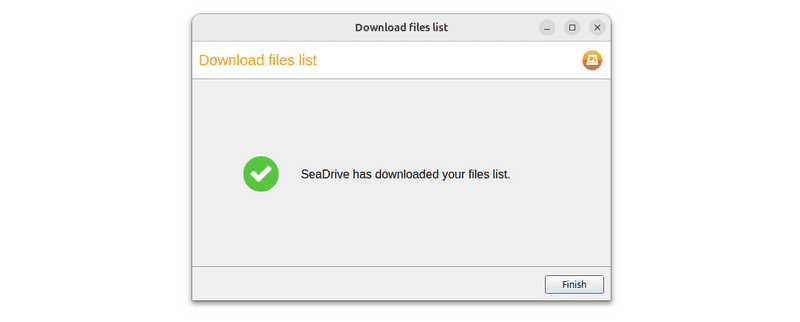
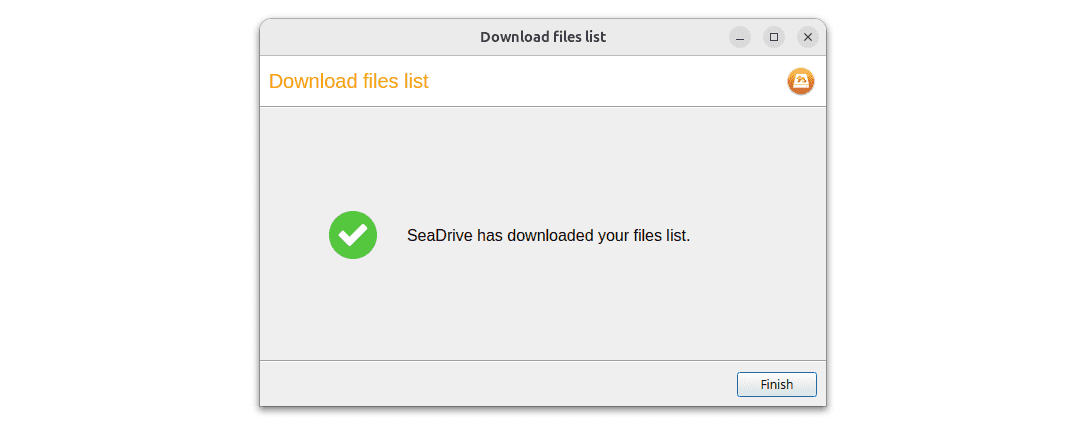
You should get a confirmation that the files list was successfully downloaded.
- You should find a mount in
~/SeaDrive, e.g./home/holu/Seadrive. Go to that directory to browse the libraries of your user.
- To test the connection, you can create a new file on your local device, e.g. in
/home/holu/SeaDrive/My Libraries/test, and check if that file appears in the web UI atseafile.example.com. Reversibly, you can delete the new file in the web UI and check if if disappears on your local device as well. Note that it may take a minute to synchronize.
Conclusion
You should now have a running Seafile instance that can be accessed from remote clients.
Next steps: