Introduction
NoMachine is a free proprietary software for remote desktop access and file transfer. NX technology enables NoMachine to offer extra features and significantly better performance than other remote desktop tools, such as Xrdp and VNC. Moreover, it is truly cross-platform and seamlessly runs on Windows, Mac, Linux, Android, and even iOS devices. Thus, you can access your Hetzner server whenever you want, wherever you are!
This tutorial describes the step-by-step process of installing Xfce, a lightweight desktop environment, along with installation and configuration of NoMachine.
Prerequisites
- An Ubuntu server
- SSH access with
sudoprivilege
Step 1 - Xfce Installation
As usual, first let's update the list of available packages of aptitude:
sudo apt updateBe aware that installation of Xfce is so easy that it sometimes hurts 😉:
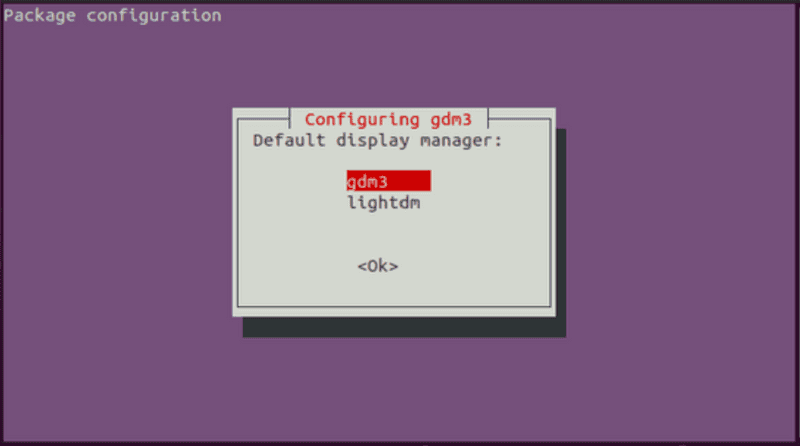
sudo apt install xfce4Depending on the version of your Ubuntu, while installing xfce, it might ask for the default display manager. Feel free to select the default display manager and select OK.
Step 2 - NoMachine Installation
To install NoMachine, you need to download the .deb package from its official website. Considering the modern infrastructure of Hetzner Cloud, you probably need to download the amd64 architecture. If you're not sure, you can use dpkg --print-architecture to get your architecture.
At the time of writing this tutorial, the latest version (8.8) of NoMachine can be downloaded with the following command:
wget https://download.nomachine.com/download/8.8/Linux/nomachine_8.8.1_1_amd64.debThen, install the .deb package:
sudo dpkg -i nomachine_8.8.1_1_amd64.debStep 3 - NoMachine Configuration
If you've installed Xfce as explained in this tutorial, there is no need to change the default configuration of NoMachine at /usr/NX/etc/node.cfg.
However, you might have installed another desktop environment. In that case, head over to /usr/NX/etc/node.cfg and change the value of DefaultDesktopCommand according to your desktop environment as below:
-
GNOME -
DefaultDesktopCommand /usr/bin/gnome-session -
KDE Plasma -
DefaultDesktopCommand /usr/bin/startplasma-x11 -
LXDE -
DefaultDesktopCommand /usr/bin/startlxde -
Xfce -
DefaultDesktopCommand /usr/bin/startxfce4
Then, restart NoMachine:
sudo /etc/NX/nxserver --restartNote: If you have an active firewall on your server, allow connection to port 4000 as below:
sudo ufw allow 4000Step 4 - Client Connection
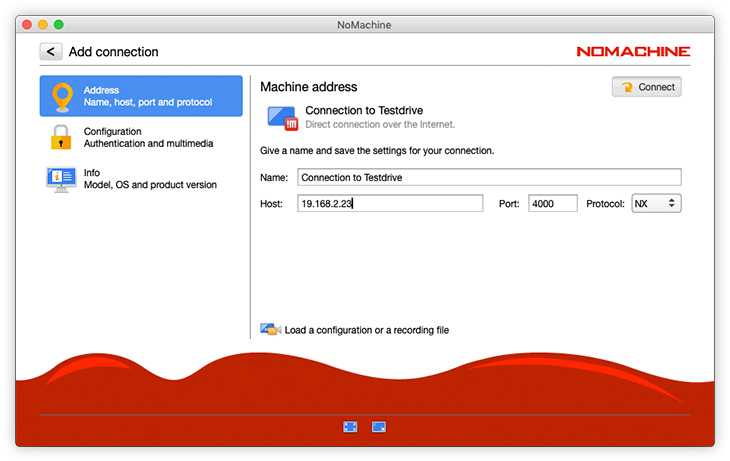
Finally, check out the NoMachine download page, and install the NoMachine client based on your local device that will connect to the server. Run the NoMachine client in the local device, click the Add button, fill the host with your server's public IP address, and leave other parameters as default.
Next, click the Connect button and enter your Ubuntu username (e.g., root as default) and password. If you've not set the password yet, you can simply do it interactively with passwd command.
Enjoy!
Conclusion
This tutorial provided instructions on how to install Xfce desktop and NoMachine on Ubuntu servers for remote desktop access, along with step-by-step configuration of NoMachine.

