Introduction
This tutorial will guide you through the installation, setup, and operation of ArgoCD in a Kubernetes cluster (so-called in-cluster deployment). The number of nodes in the cluster does not matter.
What is Argo CD anyway?
But what is Argo CD anyway? If we look at the project website, it says: "Argo CD is a declarative, GitOps continuous delivery tool for Kubernetes." Great, that's not helpful at all. So let's start with the necessary basics: Continuous Delivery.
Continuous Delivery (CD) is a software development practice aimed at moving software changes – whether new features, configuration changes, bug fixes, or experiments – quickly, safely, and sustainably into the production environment. At its core, Continuous Delivery is about creating a reliable and repeatable process to move software changes from the development system to end-users. Think of it as a pipeline through which your software flows. Each phase of this pipeline – from code commit, through automated tests, to actual deployment in a test or production environment – is designed to detect errors early and make the process as smooth as possible.
An important aspect of CD is its close integration with Continuous Integration (CI). While CI focuses on regularly merging code changes from different developers into a shared repository and testing them automatically, CD builds upon this foundation by automating deployment across different environments. You could say that CI prepares the software package, and CD delivers it – in the case of Argo CD, to a Kubernetes cluster.
Another key element for successful Continuous Delivery in Kubernetes with Argo CD is the idea of managing all Kubernetes manifests in one or more dedicated Git repositories. These manifests describe the desired state of your entire Kubernetes applications and infrastructure – from deployments and services to namespaces and custom resource definitions. This makes Argo CD "declarative."
Prerequisites
Two prerequisites are needed for this tutorial:
-
Kubernetes Cluster: Several other Hetzner tutorials already cover installation and various deployment types. Therefore, we will treat it as a basic requirement and not go into setup details. We will use a Hetzner Dedicated Server with Kubernetes installed – operating it as the sole node in the cluster. We installed Kubernetes using a
kurl.shscript. -
A repository where your manifests will be stored later. It does not matter whether the repository is hosted on GitLab/GitHub/private and whether it is public or private.
Step 1 - Installing Argo CD
First, let's check if the nodes of our Kubernetes cluster are running properly.
kubectl get nodesYou should get an output similar to this:
NAME               STATUS   ROLES                  AGE     VERSION
hetzner-tutorial   Ready    control-plane,master   3m30s   v1.29.15
Next, we create a separate namespace for Argo CD argocd:
kubectl create namespace argocdThen we can run the installation script for Argo CD, provided on their website:
kubectl apply -n argocd -f https://raw.githubusercontent.com/argoproj/argo-cd/stable/manifests/install.yamlAnd that's it – almost. Argo CD should now be running on your cluster. To verify, we display all pods from the newly created argocd namespace where Argo CD was installed:
kubectl get pods -n argocdYou should get an output like this:
NAME                                                READY   STATUS    RESTARTS   AGE
argocd-application-controller-0                     1/1     Running   0          3m11s
argocd-applicationset-controller-555cf564b4-jl4k7   1/1     Running   0          3m12s
argocd-dex-server-66876985d9-nwbzr                  1/1     Running   0          3m12s
argocd-notifications-controller-8f5c7f7ff-7kxzj     1/1     Running   0          3m12s
argocd-redis-6d85ddf67d-zlksg                       1/1     Running   0          3m12s
argocd-repo-server-85f97ff79c-lggpr                 1/1     Running   0          3m11s
argocd-server-84db496456-mf92w                      1/1     Running   0          3m11s
Step 2 - Setting up public access
To access the Argo web interface, we need to make the argocd-server service accessible via IP address. Enter the following command:
kubectl get svc -n argocdNAME TYPE CLUSTER-IP EXTERNAL-IP PORT(S) AGE
argocd-applicationset-controller ClusterIP 10.96.0.203 <none> 7000/TCP,8080/TCP 7m19s
argocd-dex-server ClusterIP 10.96.3.228 <none> 5556/TCP,5557/TCP,5558/TCP 7m19s
argocd-metrics ClusterIP 10.96.2.72 <none> 8082/TCP 7m19s
argocd-notifications-controller-metrics ClusterIP 10.96.2.141 <none> 9001/TCP 7m19s
argocd-redis ClusterIP 10.96.3.184 <none> 6379/TCP 7m19s
argocd-repo-server ClusterIP 10.96.0.167 <none> 8081/TCP,8084/TCP 7m19s
argocd-server ClusterIP 10.96.0.80 <none> 80/TCP,443/TCP 7m19s
argocd-server-metrics ClusterIP 10.96.0.131 <none> 8083/TCP 7m19sWe see that the argocd-server service has been assigned a ClusterIP. This suffices for communication within the cluster, but not for external access. Therefore, we will assign a NodePort to the service. Since the service already exists, we patch its configuration as follows:
kubectl patch svc argocd-server -n argocd -p '{"spec": {"type": "NodePort"}}'The following output confirms success:
service/argocd-server patchedIf we list all services again, we should see that argocd-server has been assigned a NodePort:
kubectl get svc -n argocdNAME TYPE CLUSTER-IP EXTERNAL-IP PORT(S) AGE
[...]
argocd-server NodePort 10.96.0.80 <none> 80:32867/TCP,443:26835/TCP 16m
[...]In the example above, the application is now accessible via ports 32867 and 26835.
Test it by opening the application in your browser:
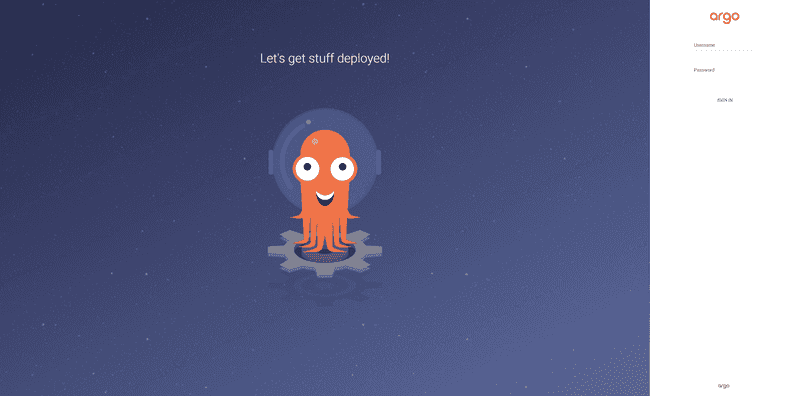
https://<IP-Address>:26835If you see the Argo login page, everything worked!
Step 3 - Logging in as admin
To log into Argo, use the username admin and retrieve the password using the following command:
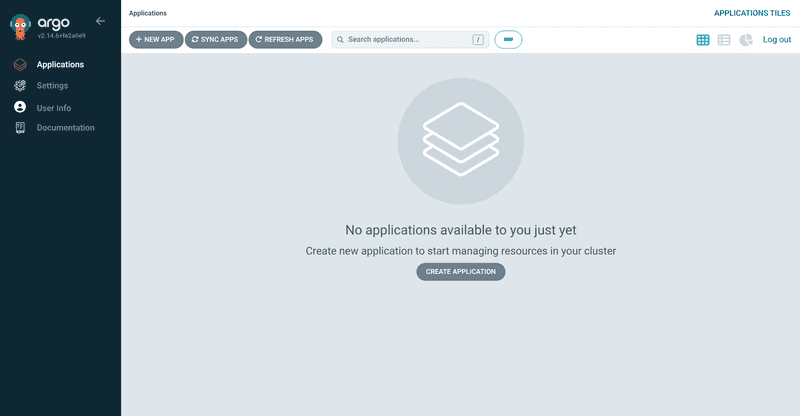
kubectl -n argocd get secret argocd-initial-admin-secret -o jsonpath="{.data.password}" | base64 -dYou can of course change the password anytime. You will be greeted by the following screen:
Step 4 - Deploying a Test Project
In this step, we will connect a repository and perform a test deployment.
Now it is time to create a repository with your manifests. We will use a public test repository on GitHub. Create a new repository containing a file named busybox-shell-loop.yaml. This file contains the following code:
apiVersion: v1
kind: Pod
metadata:
  name: busybox-multicmd
spec:
  containers:
    - name: busybox
      image: busybox:latest
      command: ["/bin/sh"]
      args: ["-c", "while true; do echo hello; sleep 10; done"]
      imagePullPolicy: IfNotPresent
  restartPolicy: Always
It is a manifest for a so-called Busybox, which executes the code defined under spec.containers.args. What exactly happens will become clear later. Save and upload or push the file to the public test repository you just created!
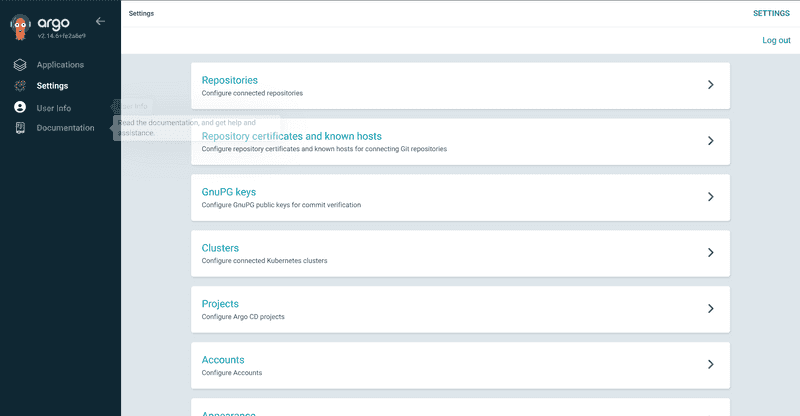
Now back to Argo CD. To add the repo, navigate to Settings.
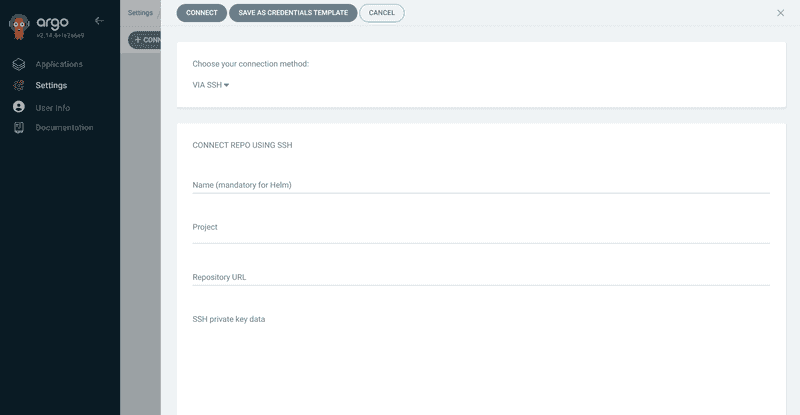
Select Repository and click Connect Repo.
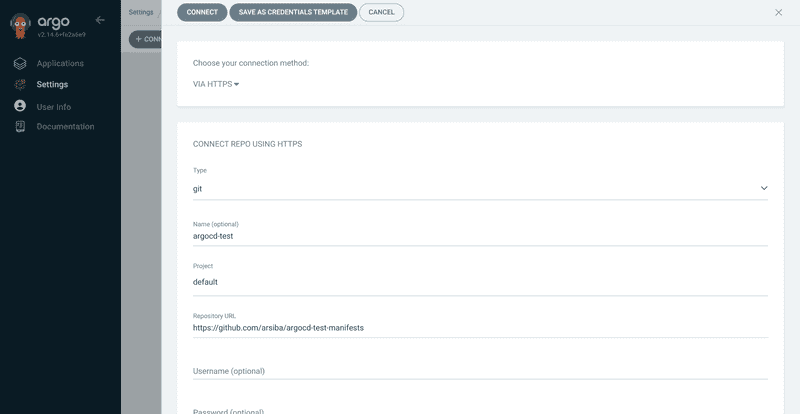
Choose HTTPS for the repository type and select git as type. Name the project, e.g., argocd-test. Set Project to default. Paste the URL of your repo into the Repository URL field. If it is private, provide credentials, otherwise leave empty. We can skip all other fields for this tutorial. The configuration should look like this:
Click Connect to confirm.
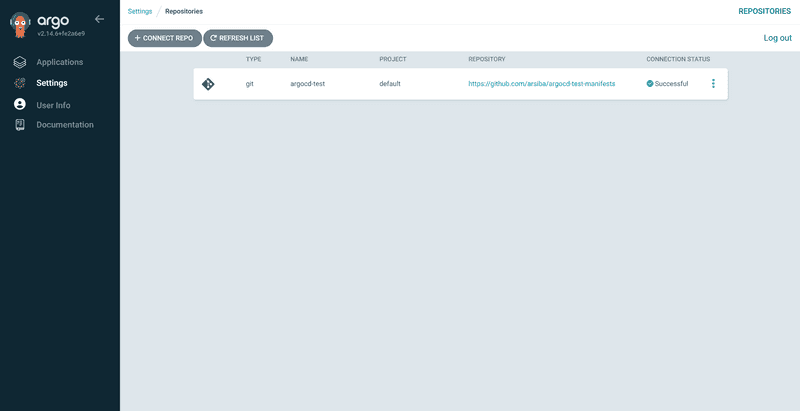
If the connection status is success, everything is fine. Otherwise, check the repo URL and, if necessary, credentials.
Next, we create an Application. In Argo CD, an Application organizes multiple resources. Navigate to Applications via the sidebar.
Click either CREATE APPLICATION or NEW APP. Configure your application as follows:
- Application Name:
argo-test-app - Project Name:
default - SYNC POLICY:
Automatic - Repository URL:
<Your Repo URL> - Revision:
HEAD - Path:
. - Cluster URL:
https://kubernetes.default.svc - Namespace:
argocd
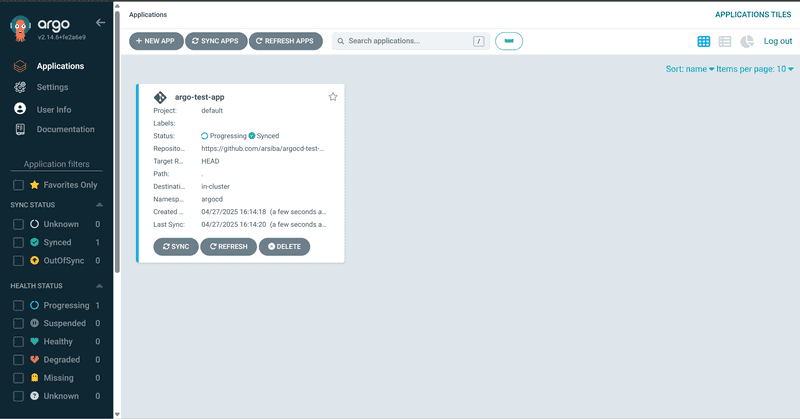
Click CREATE. You should now see the created application.
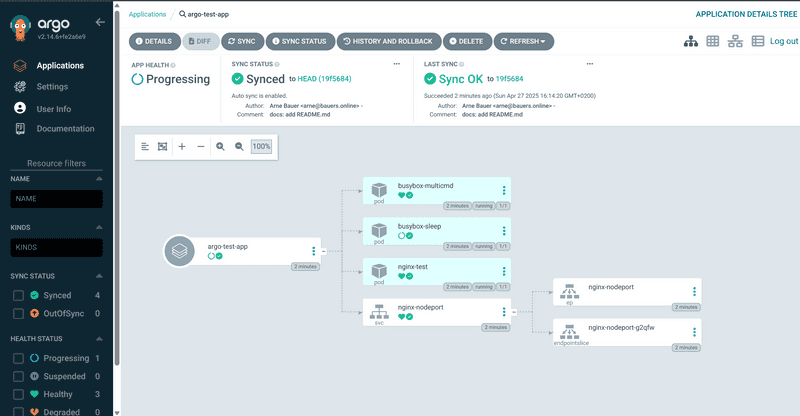
Click on the application to see details. All resources contained are shown, and a green checkmark confirms everything is healthy. Click resources for more details, including manifests.
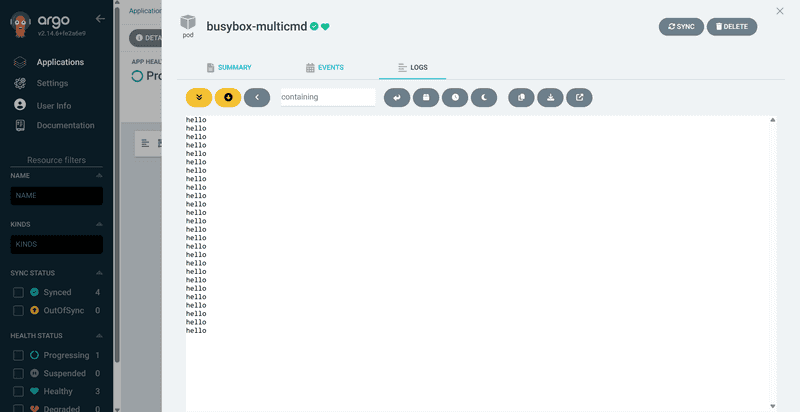
Clicking on a pod shows the logs, e.g., for busybox-multicmd:
It outputs hello regularly. In the SUMMARY tab you can see:
apiVersion: v1
kind: Pod
metadata:
	[...]
spec:
  containers:
    - args:
        - '-c'
        - while true; do echo hello; sleep 10; done
      command:
        - /bin/sh
The argument while true; do echo hello; sleep 10; done causes a message to be output every 10 seconds.
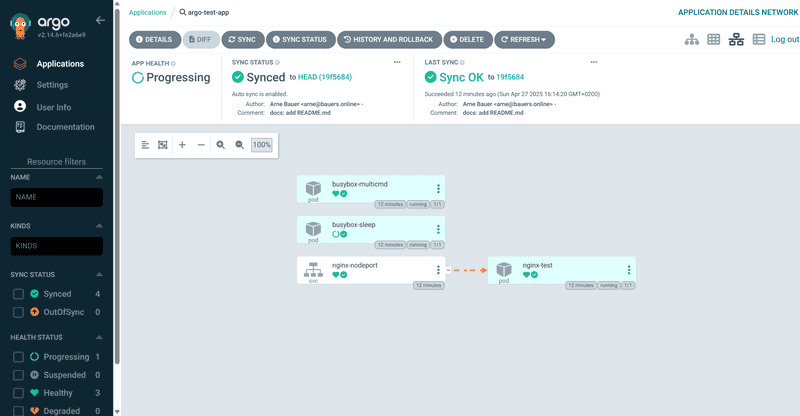
Back in the Application view, there are also additional dashboards. In the top-right corner you find:
The first is the standard view. The second is the node view for cluster node statistics. The third shows network topology, indicating how resources are connected. For example, the pod nginx-test is assigned to the service nginx-nodeport.
The fourth and last view presents all resources in a table format.
Conclusion
This tutorial showed how easy and effective Argo CD can automate the deployment process in Kubernetes. After installation, initial setup, and first deployments, you can now fully automate your projects: write manifests, push them to the repo, and Argo will do the rest. Of course, the application is much more powerful than what we have shown here – but these basics form a solid foundation and a good start into the world of Continuous Delivery!
