What is Moodle?
Moodle is a free online learning platform where you can create courses for students and they can graduate them.
Example terminology
- Username:
moodlec - Hostname:
<wwwXXX> - Domain:
<example.com> - Subdomain:
<moodle.example.com>
Install Moodle
Step 1 - Download moodle
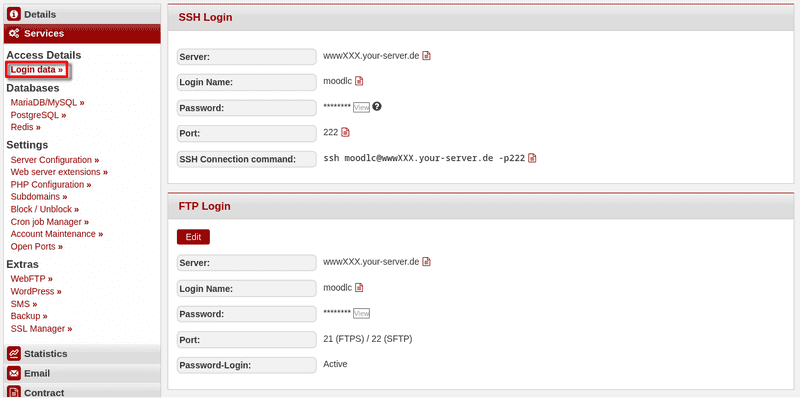
To download Moodle you either need a SSH- or FTP connection to the server. The login details can be found in the konsoleH under Access details→Login data.
-
Option 1 - Via an SSH connection
For this option, you need Web Hosting L or higher.-
1.1 Download the file
After you establish an SSH connection to your server, you can download the file directly into thepublic_htmldirectory.moodlc@<wwwXXX>:~$ wget https://packaging.moodle.org/stable500/moodle-latest-500.tgz -
1.2 Unzip the file
Once thetar.gzfile is downloaded, you can unzip it.moodlc@<wwwXXX>:~$ tar -xf moodle-latest-500.tgzThe current directory should now include the
moodledirectory. -
1.3 Move the files
You can now move the directory into to thepublic_htmldirectory.moodlc@<wwwXXX>:~$ mv moodle ~/public_htmlThe
public_htmldirectory should now include themoodledirectory.
-
-
Option 2 - Via an FTP connection
-
1.1 Download the file on your local device
Open https://download.moodle.org/download.php/stable500/moodle-latest-500.zip to download the latest version. -
1.2 Unzip the file
- On your local device, open the "Downloads" directory. There, you should see the Moodle ZIP file.
- Right-click on the Drupal file.
- In the menu that opens, select "Extract Here" (Linux) or "Extract All" (Windows).
-
1.3 Upload the unzipped files via FTP
You now need to copy the files on the server via FTP. Themoodledirectory should be in the "Downloads" directory. Select the directory on your local device and copy it to thepublic_htmldirectory on the server.
-
Step 2 - Changing the webroot
- Open konsoleH
- Go to
Settings>Server Configuration - Select the directory
moodlebeneathpublic_html. - Click on "Change document root"

Step 3 - Edit the PHP settings
- Stay in konsoleH.
- Go to
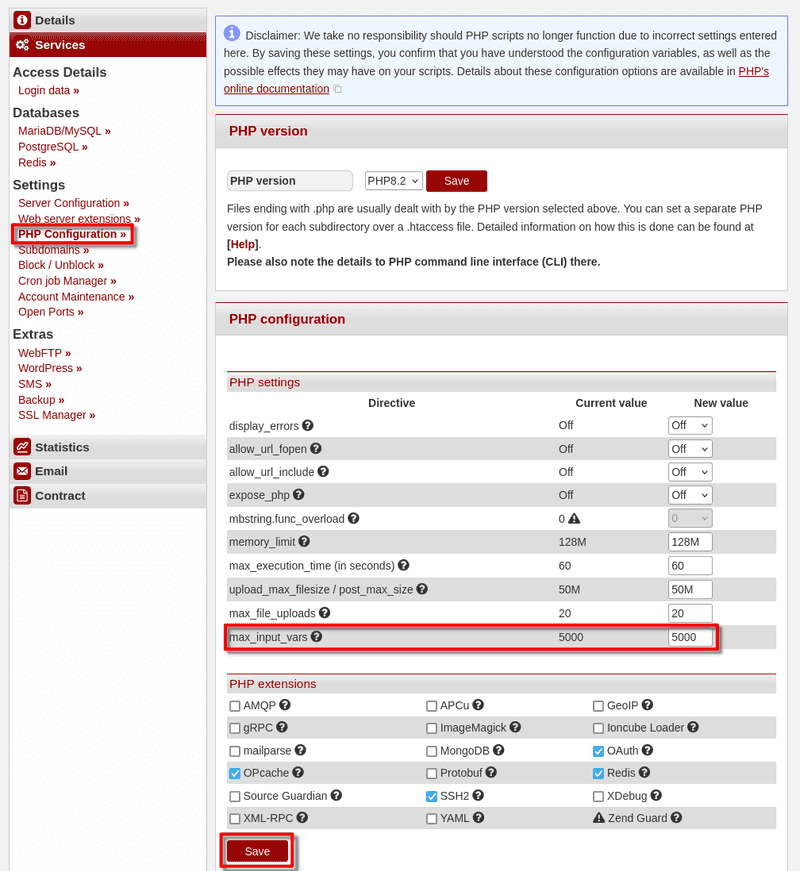
Settings>PHP Configuration - Scroll down to "PHP settings" and set the value of
may_input_varsto 5000 - Scroll to the bottom and save the changes
Step 4 - Creating a database
- Stay in konsoleH.
- Select Services > MariaDB/MySQL
- Create a new Database (add)
- Confirm database creation (add)
- Keep the browser-tab open to enter the login credentials later.
Step 5 - Installing Moodle
Open your website in the browser (i.e. moodle.example.com). There you should see the installation prompt for Moodle.
- Select a Language and click on
next.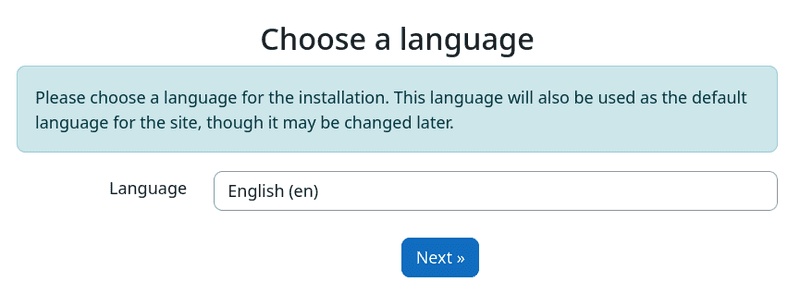
- set the Data directory to
/usr/home/moodlc/moodle(replace with your username).
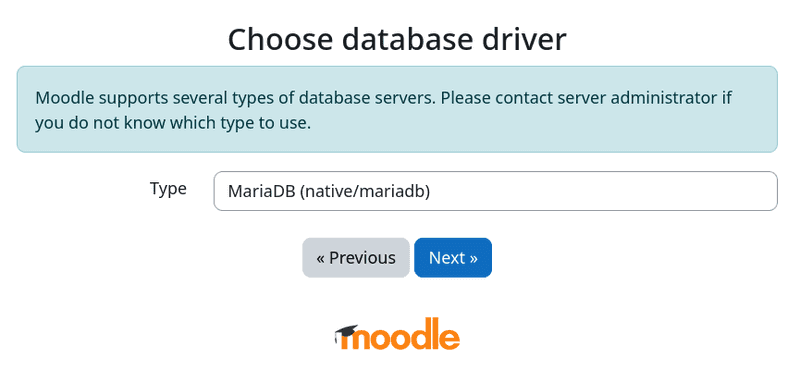
- Select MariaDB as database type.
- Inset your database login details from konsoleH.
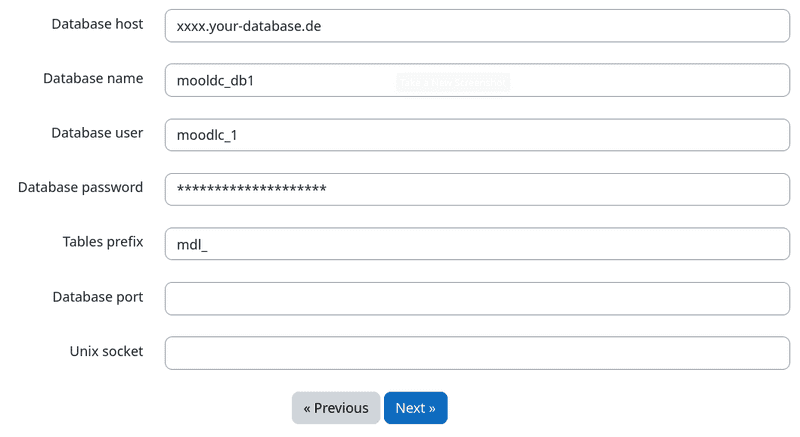
- Confirm the license, server-check and installation (at the bottom respectively).
- Afterwards, enter your information for the new Moodle admin user.
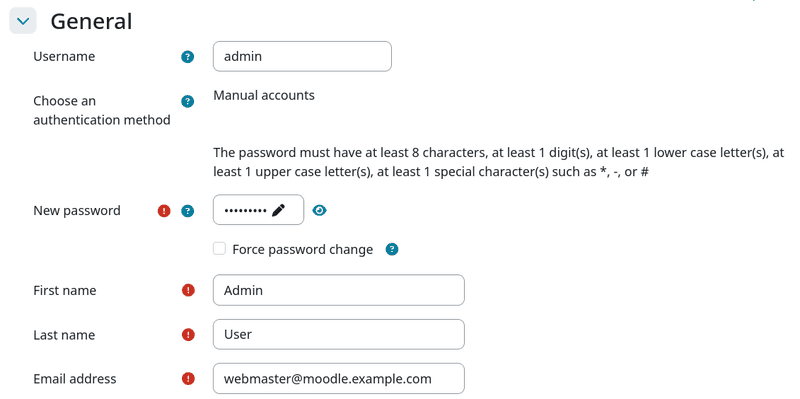
- Then you can enter the name and description of your website.
- Finishing up, you can choose to register the site or skip this step at the bottom left.
Next steps
If all works as expected, you can start using Moodle! Under https://moodle.example.com/my/courses.php you are able to create new courses and configure the site to your needs. Using https://moodle.example.com/my/ you can access the dashboard to see the current available courses as well as the calendar.