Introduction
Discourse is a forum software aiming for good discussion quality. You can find a sandbox installation at try.discourse.org.
This tutorial covers the basic steps to set up the free community edition on a cloud server running Ubuntu 24.04.
Prerequisites
- a cloud server
- a domain
- an email account
The minimum hardware requirements for Discourse state one CPU core, 1 GB RAM and 10GB disk space. Therefore a Hetzner CX23 will suffice for the initial setup. Depending on what your plans with the installation are, you can rescale the server later to fit your needs.
Basic docker knowledge is helpful.
Step 1 - Setup the server
Step 1.1 - Firewall
After ordering a server with Ubuntu 24.04 preinstalled, I recommend to add a simple firewall. This limits incoming traffic to SSH and general HTTP and HTTPS traffic.
Step 1.2 - Update the system and install the required packages
Check for available updates and install them:
sudo apt update && sudo apt upgrade
[...]
Do you want to continue? [Y/n] Y
Install the packages docker.io and git:
sudo apt install docker.io git
[...]
Do you want to continue? [Y/n] Y
Step 2 - Get Discourse
Step 2.1 - Checkout the Discourse Docker repository
Now we clone the repository that contains helper scripts and definitions for our Discourse installation:
sudo git clone https://github.com/discourse/discourse_docker.git /git/discourse
cd /git/discourse
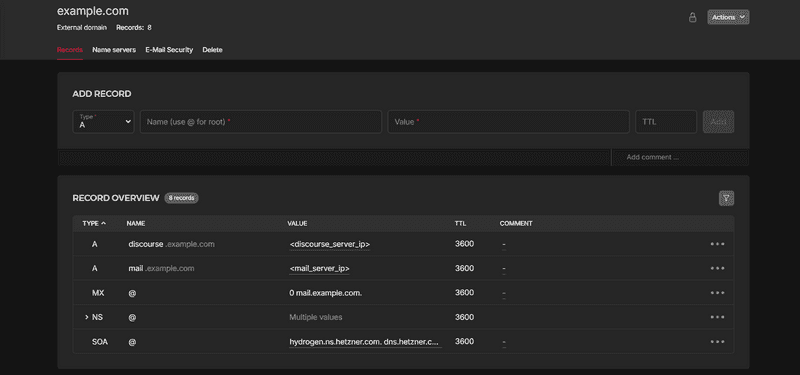
Step 2.2 - Have a domain? Have a mail server?
You must have an email account and a domain to continue. If you don't, go get one!
You can find inexpensive combos of domain and hosted email service e.g. through Hetzner's webhosting packages
Or you get the domain via the domain registration Robot and host the mail server yourself. If you want to host a mail server yourself, the mailcow tutorial is an easy way to get started.
Step 2.3 - Prepare configuration
From here on we assume that you have a working email account and a domain, that is pointed to the server, that you run Discourse on.
Now run the helper script:
sudo ./discourse-setupYou will be asked some questions during this.
Answer them with the information that you have.
In the example below, it is assumed, that you have the domain discourse.example.com, your personal email account me@example.com and a generic email account discourse@example.com that is used by Discourse to authenticate against your mail server.
Please ensure that the email account is allowed to send mails for the address noreply@example.com.
Hostname for your Discourse? [discourse.example.com]: discourse.example.com
Email address for admin account(s)? [me@example.com,you@example.com]: me@example.com
SMTP server address? [smtp.example.com]: mail.example.com
SMTP port? [587]: 587
SMTP user name? [user@example.com]: discourse@example.com
SMTP password? [pa$$word]: supersecret!password123
notification email address? [noreply@discourse.example.com]: noreply@discourse.example.com
Optional email address for Let's Encrypt warnings? (ENTER to skip) [me@example.com]: me@example.com

[...]

Does this look right?

[...]

ENTER to continue, 'n' to try again, Ctrl+C to exit:
There are some checks in the script like ensuring that the domain is actually pointed to the server and that the email account can authenticate against your mail server. If the script exits before you are asked if the information looks right, you might need to revise your domain and mail setup.
After confirming the information, the script will continue to set up the docker container for your Discourse. This may take a few minutes.
The docker container is an all in one. It includes webserver, application, database and a few other things. It also manages the SSL certificate for itself.
Step 3 - Finish installation
After the script is done, you should have a docker container up and running.
sudo usermod -aG docker <username> && newgrp docker
docker ps
CONTAINER ID   IMAGE                 COMMAND        CREATED         STATUS         PORTS                                      NAMES
989d351d5d61   local_discourse/app   "/sbin/boot"   2 minutes ago   Up 2 minutes   0.0.0.0:80->80/tcp, 0.0.0.0:443->443/tcp   app
Now it is time to visit the website. From example from above this would be discourse.example.com.
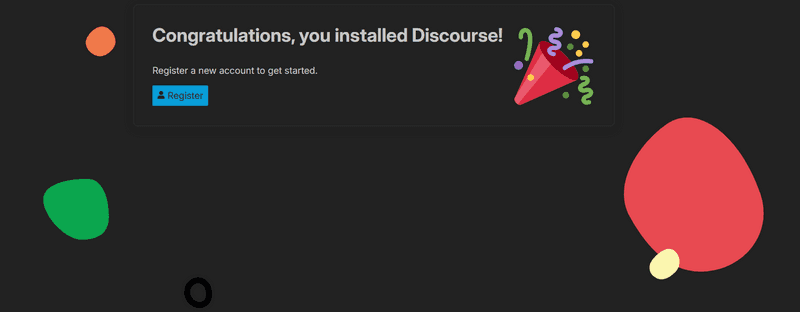
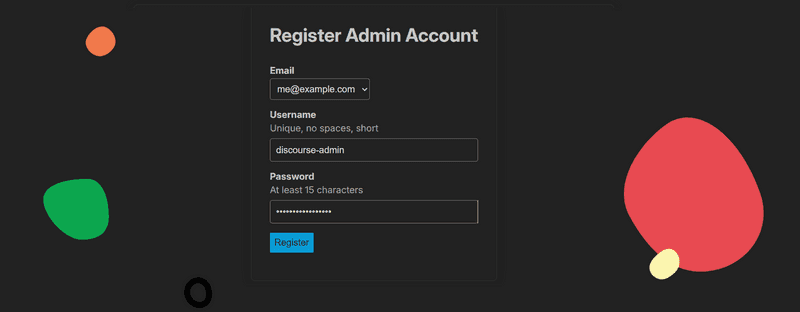
You should see a welcome screen, where you are prompted for registering. This will create your initial administrator account.
Provide the initial credentials for your administrator account.
Now take a look into your mailbox.
You should find a mail with a link to confirm your administrator account creation.
Click on the link to finalize the setup.
Conclusion
Congratulations! You created a Discourse installation that you can now can log into with the previously provided credentials. This is where this guide ends.
As a next step, you might want to customize the installation to your needs.
Discourse displays various helpful links right up front such as the "READ ME FIRST: Admin Quick Start Guide" article or the wizard.
Depending on how your community grows, you might want to consider using a larger cloud instance or even move the components of Discourse (e.g. database, webserver) to separate machines.


