Introduction
Want to easily access all of your remote desktops from all of your devices? It's easy with Apache Guacamole. This tutorial explains how to install Apache Guacamole and set up the connections.
Prerequisites
- A top-level domain, e.g.
example.com - An email address
- A server (at least CPX22, better with more resources)
- A public IP address (IPv4 recommended)
- Operating system: Ubuntu 22.04 LTS or newer
- A connection to the server command line
Example terminology
- IPv4:
<203.0.113.1>
Please replace <203.0.113.1> with your own IP address in all example commands.
Step 1 - Install Cloudron
To ensure that you can call up and operate the graphical interface via the browser, you must first install Apache Guacamole. However, since the configuration of Guacamole is a bit complicated, I will use a preconfigured version in this tutorial. Such a very well pre-configured variant is available with "Cloudron", a graphical web interface for Docker operated by the company of the same name.
To start the installation, connect to your server with SSH:
ssh holu@<203.0.113.1>Note: Replace
holuwith you own username and<203.0.113.1>with your own IP address.
Accept the new fingerprint by typing yes.
You are now connected to your server.
Before you can install Cloudron, you must first update your server. To do this, run the following command:
sudo apt full-upgradeTo then install Cloudron on your server, run the following commands:
-
Download an installation script
wget https://cloudron.io/cloudron-setup -
Make the script executable
chmod +x ./cloudron-setup -
Run the script
sudo ./cloudron-setup
Note: Installation may take some time.
If the installation was successful, reboot the system.
Step 2 - Set up Cloudron
Now call up the IP address of your server in your browser. You will be taken to a web page where you need to make some settings.
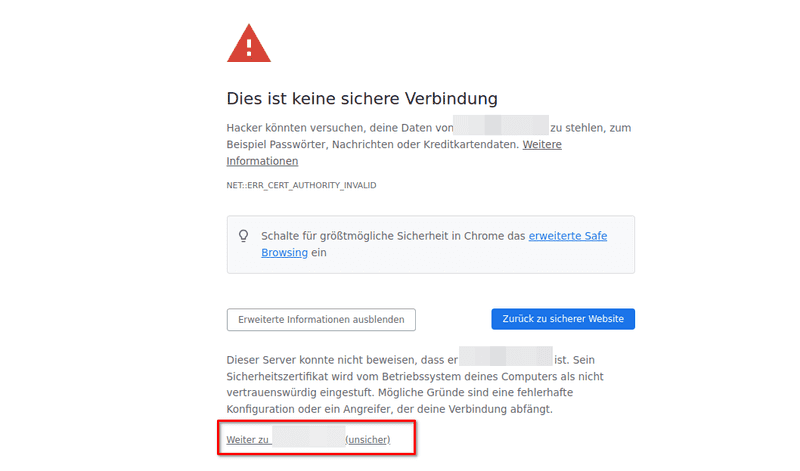
If your browser shows a warning that the website is unsafe, you can ignore it. To do this, click on
Advancedand then onProceed to ... (unsafe):
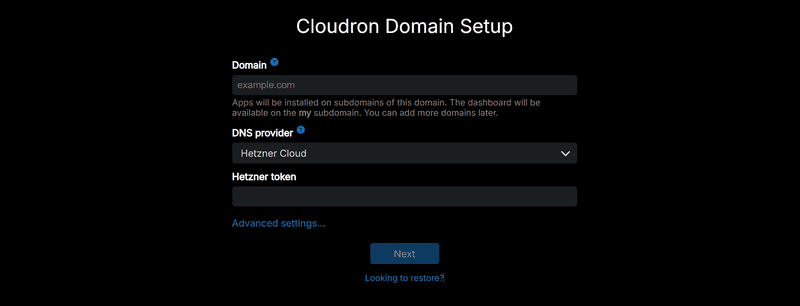
Cloudron requires a domain. Enter this in the top field (e.g. example.com).
Select Hetzner Cloud as DNS provider. Now you need an API token. You can get this token in the Hetzner Console as explained in this getting started:
Copy the token to the clipboard and paste it into the field at Cloudron. Then continue (this may take a moment).
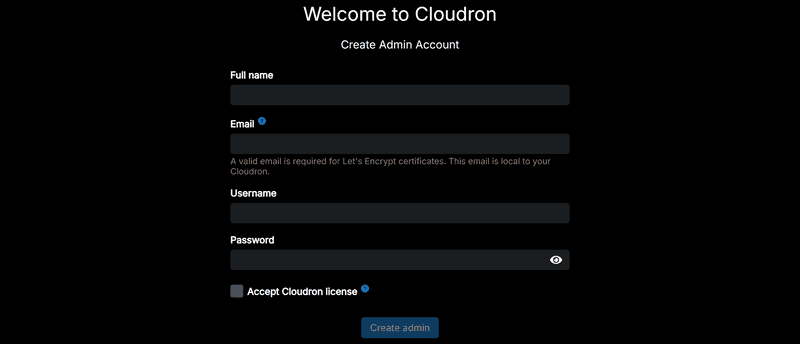
Now create the user account. To do this, fill in the fields:
Congratulations! You are now the proud administrator of a Cloudron instance.
Step 3 - Install Apache Guacamole
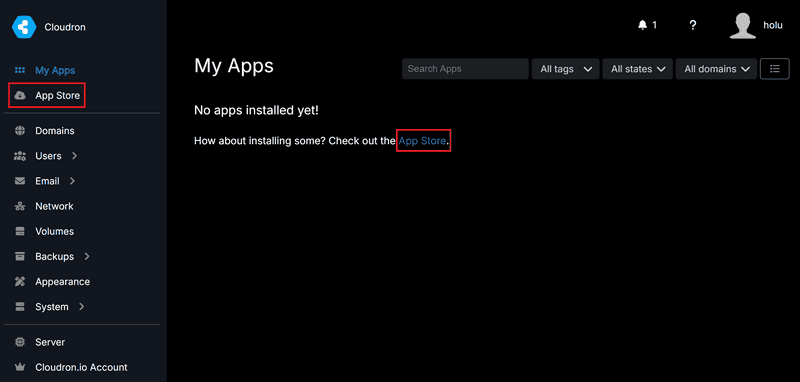
After logging into your Cloudron instance, you should get a message that no apps are installed yet. Visit the App Store to change this.
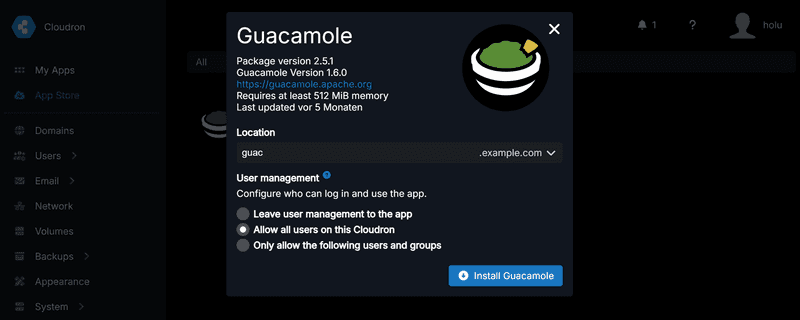
In the App Store, search "guacamole" in the search bar at the top. Click on the Guacamole card that shows in the search results. Click "Install Guacamole" to get to the next page.
On that page, enter the subdomain on which you want to access your Guacamole instance (type guac if you want to access the domain guac.example.com). Also, choose who should be able to log in.
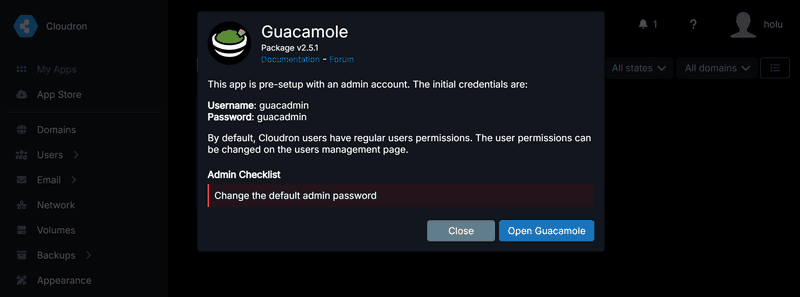
In your initial dashboard, when you see that the application has a status of 'Running', click on it. Read the information displayed and click Open Guacamole.
Login to Guacamole:
- Username: guacadmin
- Password: guacadmin
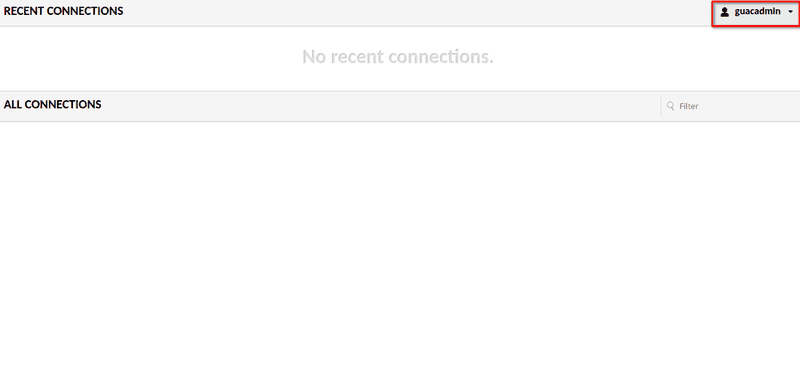
Change the password immediately (!). To do this, click on guacadmin in the upper right corner and select "Settings". Switch to Preferences and enter the old and the new password under Change Password and confirm the input.
Congratulations! You have successfully installed Guacamole! I will explain how to store a connection in the next step.
Step 4 - Set up a new connection
Using the example of the SSH connection of the server running Cloudron and Guacamole, I would like to demonstrate how to create a new connection.
To create a new connection, open the settings.
Now select the Connections tab, click on New Connection.
In the New Connection submenu, first, enter a name for the entry (e.g. Server - Guacamole). Select SSH for protocol. If you plan to give multiple people access to your instance, you should take a look at the Concurrency Limits menu. If you are the only user, you can ignore the next categories up to Parameters.
The category Parameters is very important.
Under the Network heading, enter the IP of your server in the Hostname field. If you use the default port, you can ignore the other parameters.
Authentication is also relevant. You can enter your login data in these fields. You can also leave the fields empty, but then you have to log in manually every time you connect.
Under Display, you can change the appearance a bit if you like. I recommend just trying something out.
Conclusion
In this tutorial, you learned how to easily set up a Guacamole instance using Docker and Cloudron.
Of course, you can not only manage SSH connections but also e.g. RDP and VNC. This allows you to easily set up a cloud PC. If you want more information about the configuration, I highly recommend the official documentation. Nevertheless, I hope that I was able to help you a little with my little tutorial.
