
Introduction
Plex Media Server makes your media files such as images, videos, audio files, etc. available to all your devices via the Plex Client. It is a very powerful & useful piece of software to organize, manage & share your media collection.
This tutorial demonstrates how to install and configure the Plex Media Server on CentOS 8. You can perform the same steps on any server running CentOS 8.
Prerequisites
- 1 Server
Please note that you cannot use Plex inside the Hetzner infrastructure. Plex software needs to communicate with Plex servers and they are blocking Hetzner IP ranges. See Plex forum
Step 1 - Plex Media Server Installation
In this tutorial we'll be using Plex's official repository instead of downloading the RPM package from their site as it makes the process of upgrading the package very simple.
Step 1.1 - Add the Official Plex Repository
To add the official Plex repository create a new file named plex.repo in /etc/yum.repos.d/ directory with following content:
[PlexRepo]
name=PlexRepo
baseurl=https://downloads.plex.tv/repo/rpm/$basearch/
enabled=1
gpgkey=https://downloads.plex.tv/plex-keys/PlexSign.key
gpgcheck=1
Step 1.2 - Install Plex Media Server
Install Plex Media Server with:
sudo yum install plexmediaserver -yStart and enable the plexmediaserver service with:
sudo systemctl start plexmediaserver.service
sudo systemctl enable plexmediaserver.service
Step 1.3 - Verifying the Installation
Check if the service is running properly with:
sudo systemctl status plexmediaserver.serviceThe output of the above command should look like this:
● plexmediaserver.service - Plex Media Server
   Loaded: loaded (/usr/lib/systemd/system/plexmediaserver.service; enabled; vendor preset: disabled)
   Active: active (running) since Thu 2020-01-09 19:01:03 CET; 28s ago
Step 2 - Firewall Configuration (Optional)
To be able to access the Plex Media Server over the Internet we need to configure our server to allow connections on some ports.
These steps only need to be performed if firewalld is enabled on your server.
Step 2.1 - Add the Service
To allow connections on ports that Plex requires create a new file named plexmediaserver.xml in /etc/firewalld/services/ directory (if it doesn't exist just make a new directory) with the following content:
<?xml version="1.0" encoding="utf-8"?>
<service version="1.0">
<short>plexmediaserver</short>
<description>Firewall Rules for Plex Media Server</description>
<!-- Port(s) for Plex Media Server -->
<port port="32400" protocol="tcp"/>
<!-- Port(s) for network discovery -->
<port port="5353" protocol="udp"/>
<port port="32410" protocol="udp"/>
<port port="32412" protocol="udp"/>
<port port="32413" protocol="udp"/>
<port port="32414" protocol="udp"/>
<!-- Port(s) for Plex DLNA Server -->
<port port="1900" protocol="udp"/>
<port port="32469" protocol="tcp"/>
<!-- Port(s) for Plex Companion -->
<port port="3005" protocol="tcp"/>
<!-- Port(s) for Roku via Plex Companion -->
<port port="8324" protocol="tcp"/>
</service>
Step 2.2 - Enable the Service
After adding the service, run the following commands to enable the service:
sudo firewall-cmd --add-service=plexmediaserver --permanent
sudo firewall-cmd --reload
Step 2.3 - Verify the Configuration
Check if the rules are applied with:
sudo firewall-cmd --list-allThe output of the above command should look like this:
public (active)
  target: default
  icmp-block-inversion: no
  interfaces: eth0
  sources:
  services: ssh dhcpv6-client plexmediaserver
  ports:
  protocols:ssss
  masquerade: no
  forward-ports:
  source-ports:
  icmp-blocks:
  rich rules:
Step 3 - Configure Plex Media Server
After successfully installing Plex Media Server on your server, we can proceed further to configuration of Plex Media Server.
To get the Plex Media Server setup page we need to have access to localhost of our server such that when we open http://127.0.0.1:32400/web it should open from the server instead of our own localhost.
If you already have a local Plex Media Server installed, you need to stop it & then verify by opening
http://127.0.0.1:32400/webit should not give any output before doing any of the steps mentioned below.
Step 3.1 - SSH Tunnel
To access the server's localhost on our localhost we need to setup SSH tunneling by running one simple command. If you're on Windows run it on CMD or if you're on linux then use your bash shell.
ssh -L 127.0.0.1:32400:127.0.0.1:32400 root@<10.0.0.1>Now when you try to open http://127.0.0.1:32400/web on your web browser it should give some output.
As soon as you close the CMD/Bash instance the SSH tunneling will be gone so make sure you keep the terminal open in the background.
Step 3.2 - Access GUI for Configuration
After successfully connecting to the SSH Tunnel, You are all set to configure everything else via GUI.
To access the GUI, open http://127.0.0.1:32400/web on your web browser.
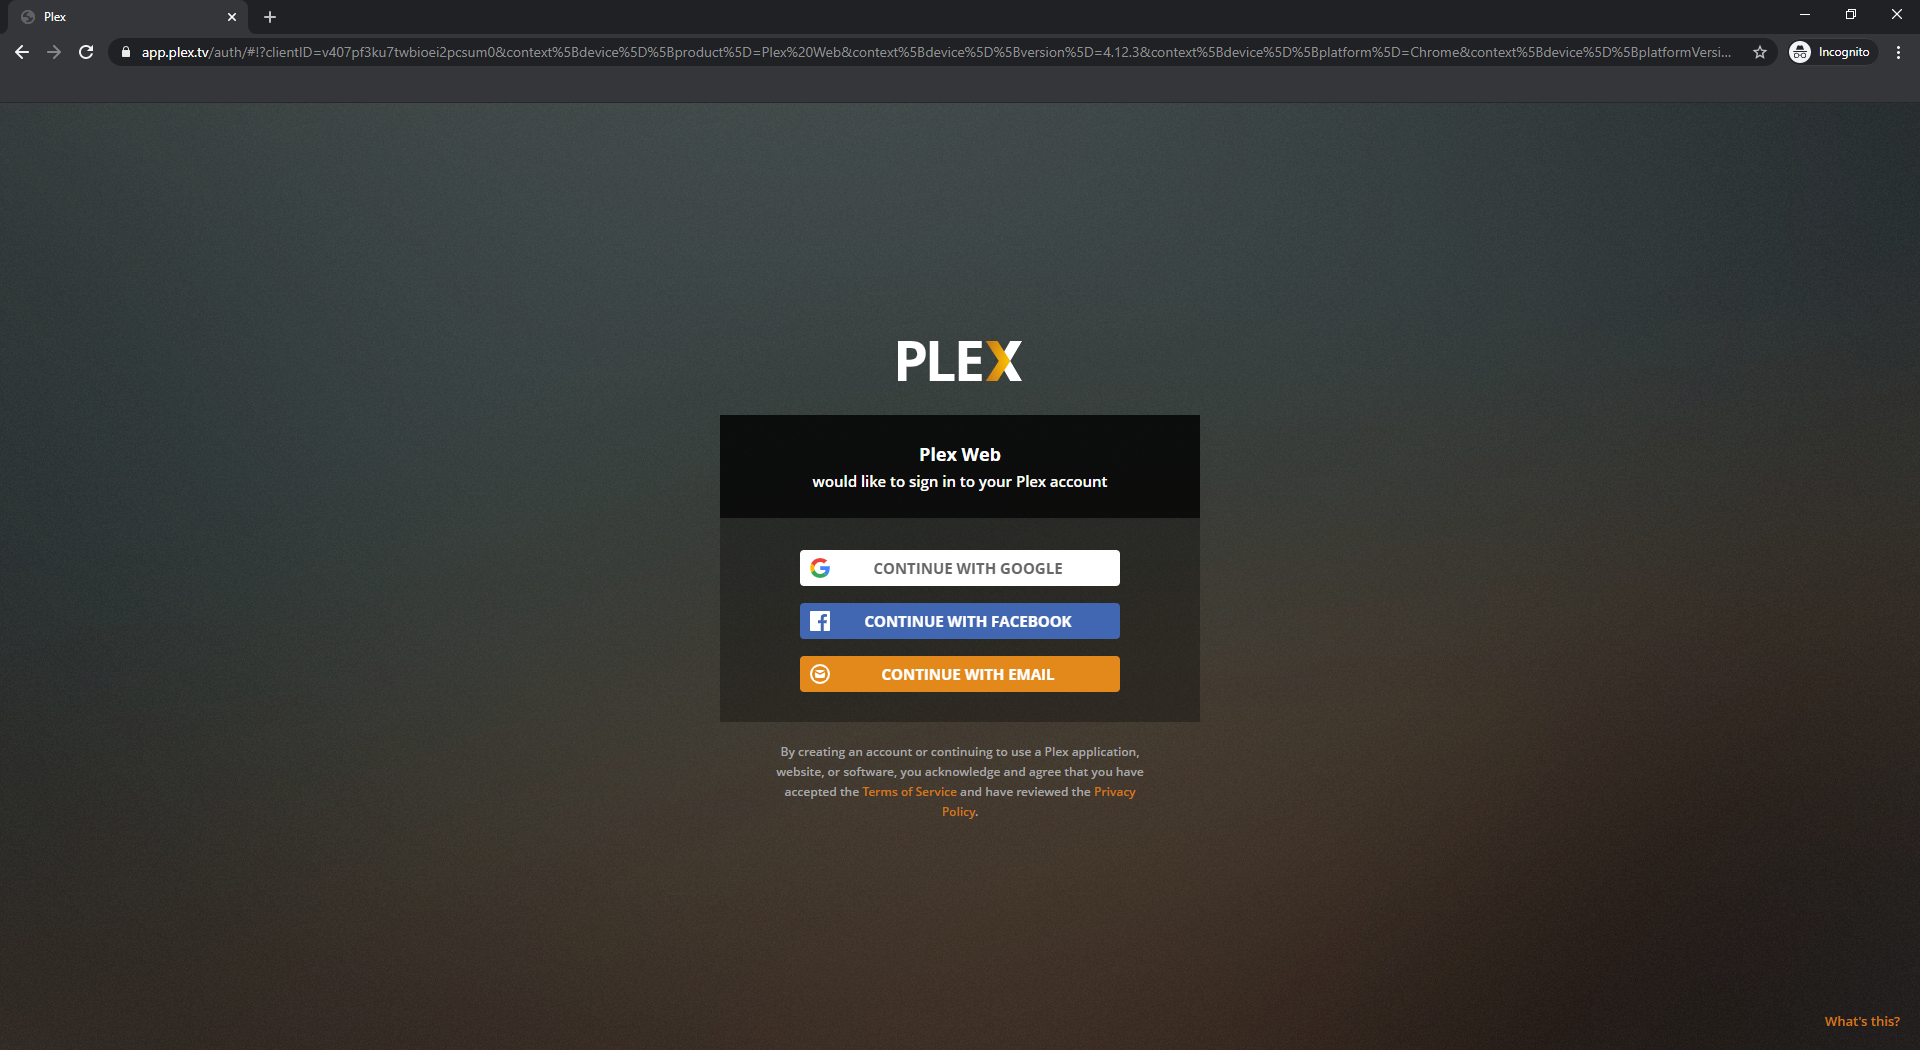
The first prompt will ask you to login. Login with your existing account or via Google, or sign up via email.
After you login, it will show you "How Plex Works" page:
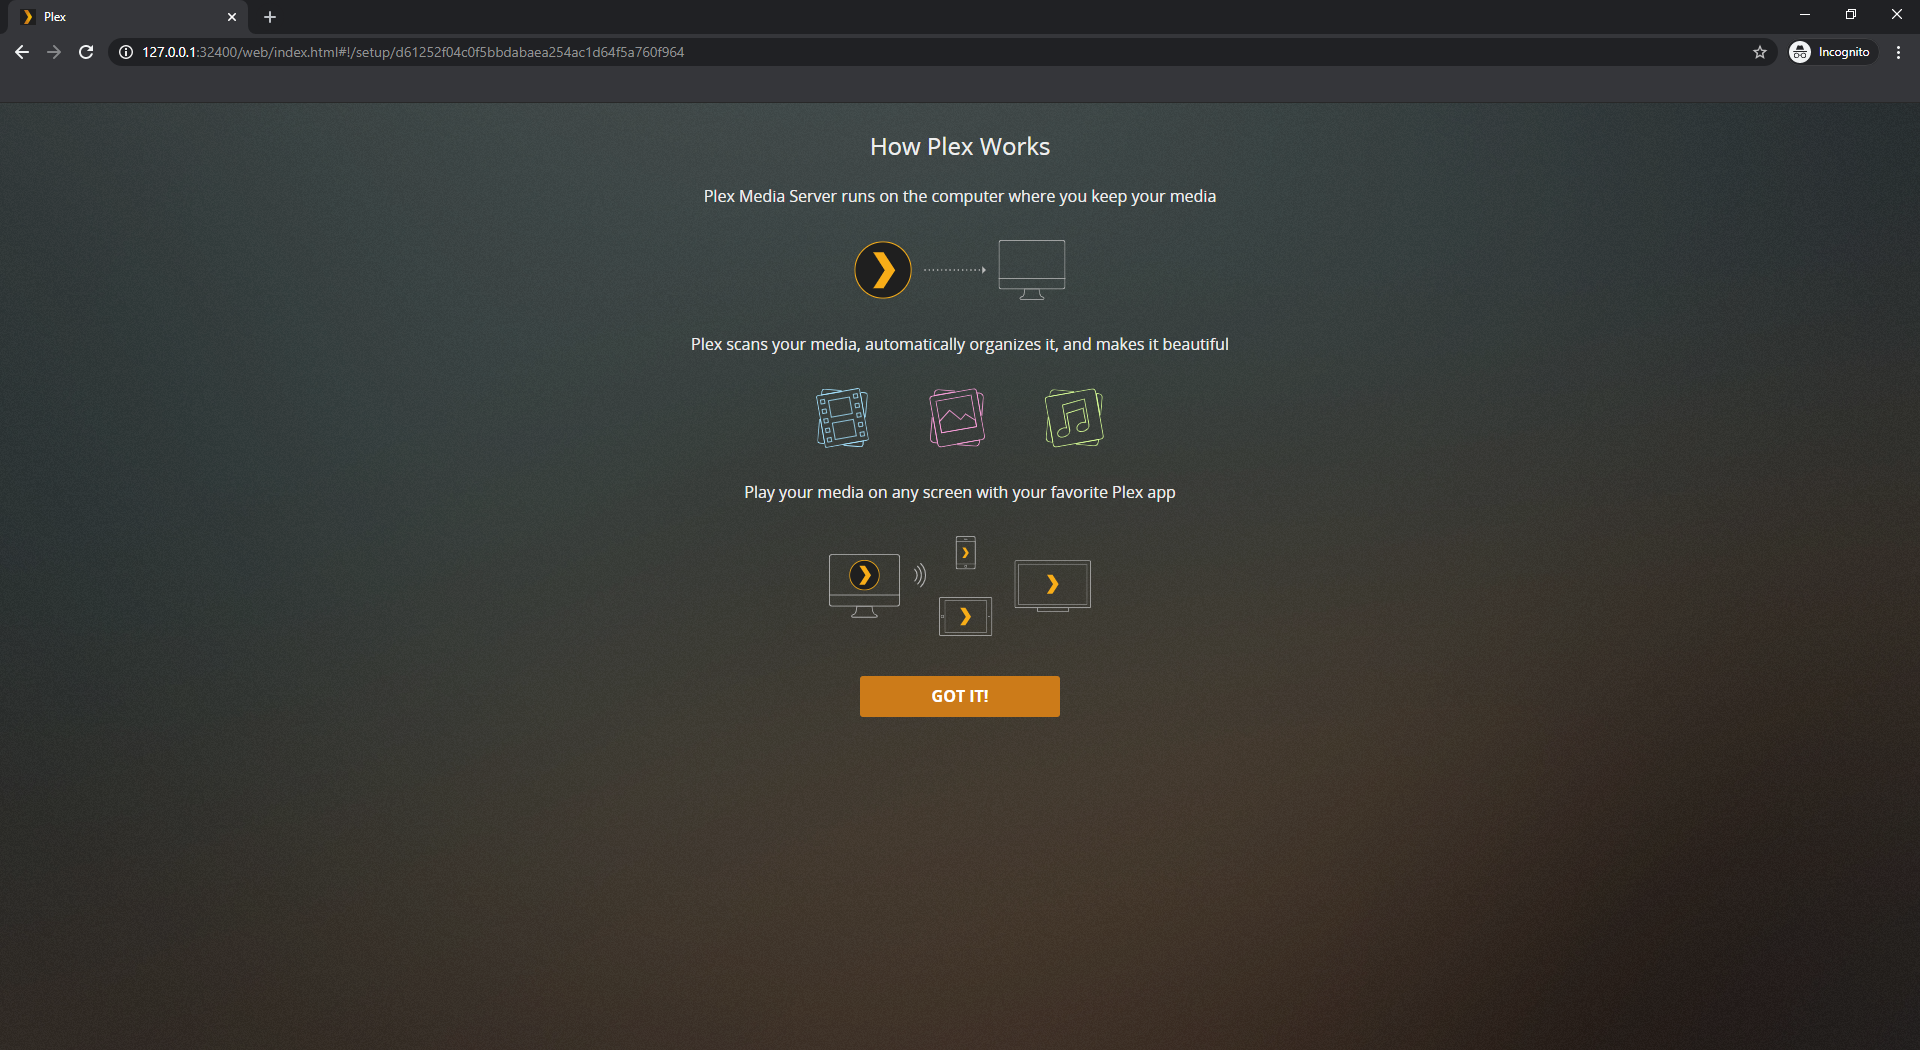
Simply click on "Got it!" button and then it shows you this screen asking friendly name (just change it whatever you want to call it):
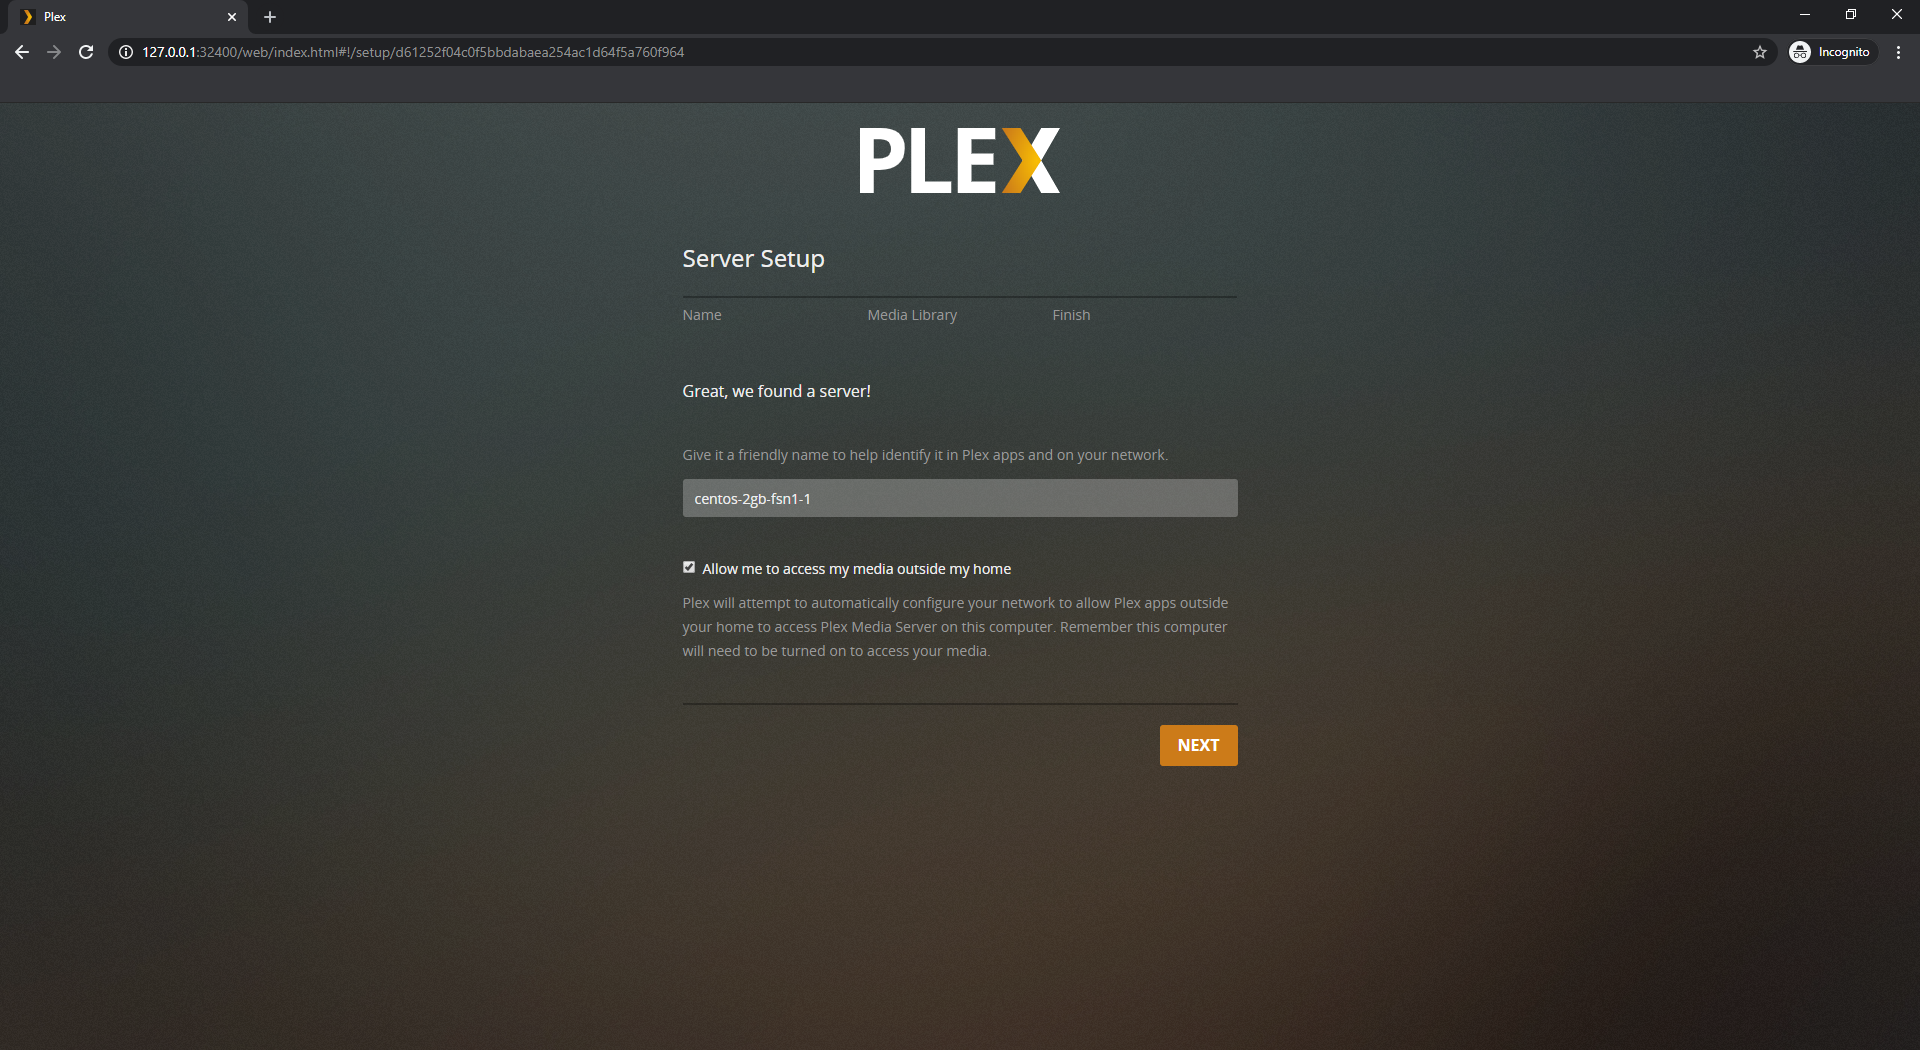
Make sure the "Allow me access my media outside my home" option remains enabled.
For the remaining 2 tabs, just hit "Next" because those can be configured later on.
Step 3.3 - Access Plex Media Server over Internet
Now that you've completed the setup prompt, You can open the Plex Media Server page by opening http://<10.0.0.1>/web.
Please note that it is recommended to use Plex Media Server behind a reverse proxy (nginx/apache) with SSL (letsencrypt) for added security.
On the left sidebar, You will see an option "More" just click on it, you'll now be able to find your Plex Media Server's friendly name on the top just click on it.
Once you can access the Plex Media Server properly from your server's public IP, You can stop the tunneling and keep using the Plex Media Server via your server's public IP.
Step 3.4 - Adding your libraries
Create a directory on your server or do the following on your existing media files.
sudo mkdir -p /plex_media/moviesPlex Media Server needs ownership of your files in order to access them from it's user (plex) on your server.
sudo chown -R plex: /plex_media/moviesKeep in mind, You do not have to use
/plex_mediato add library, you can use any folder you like to store your media files.
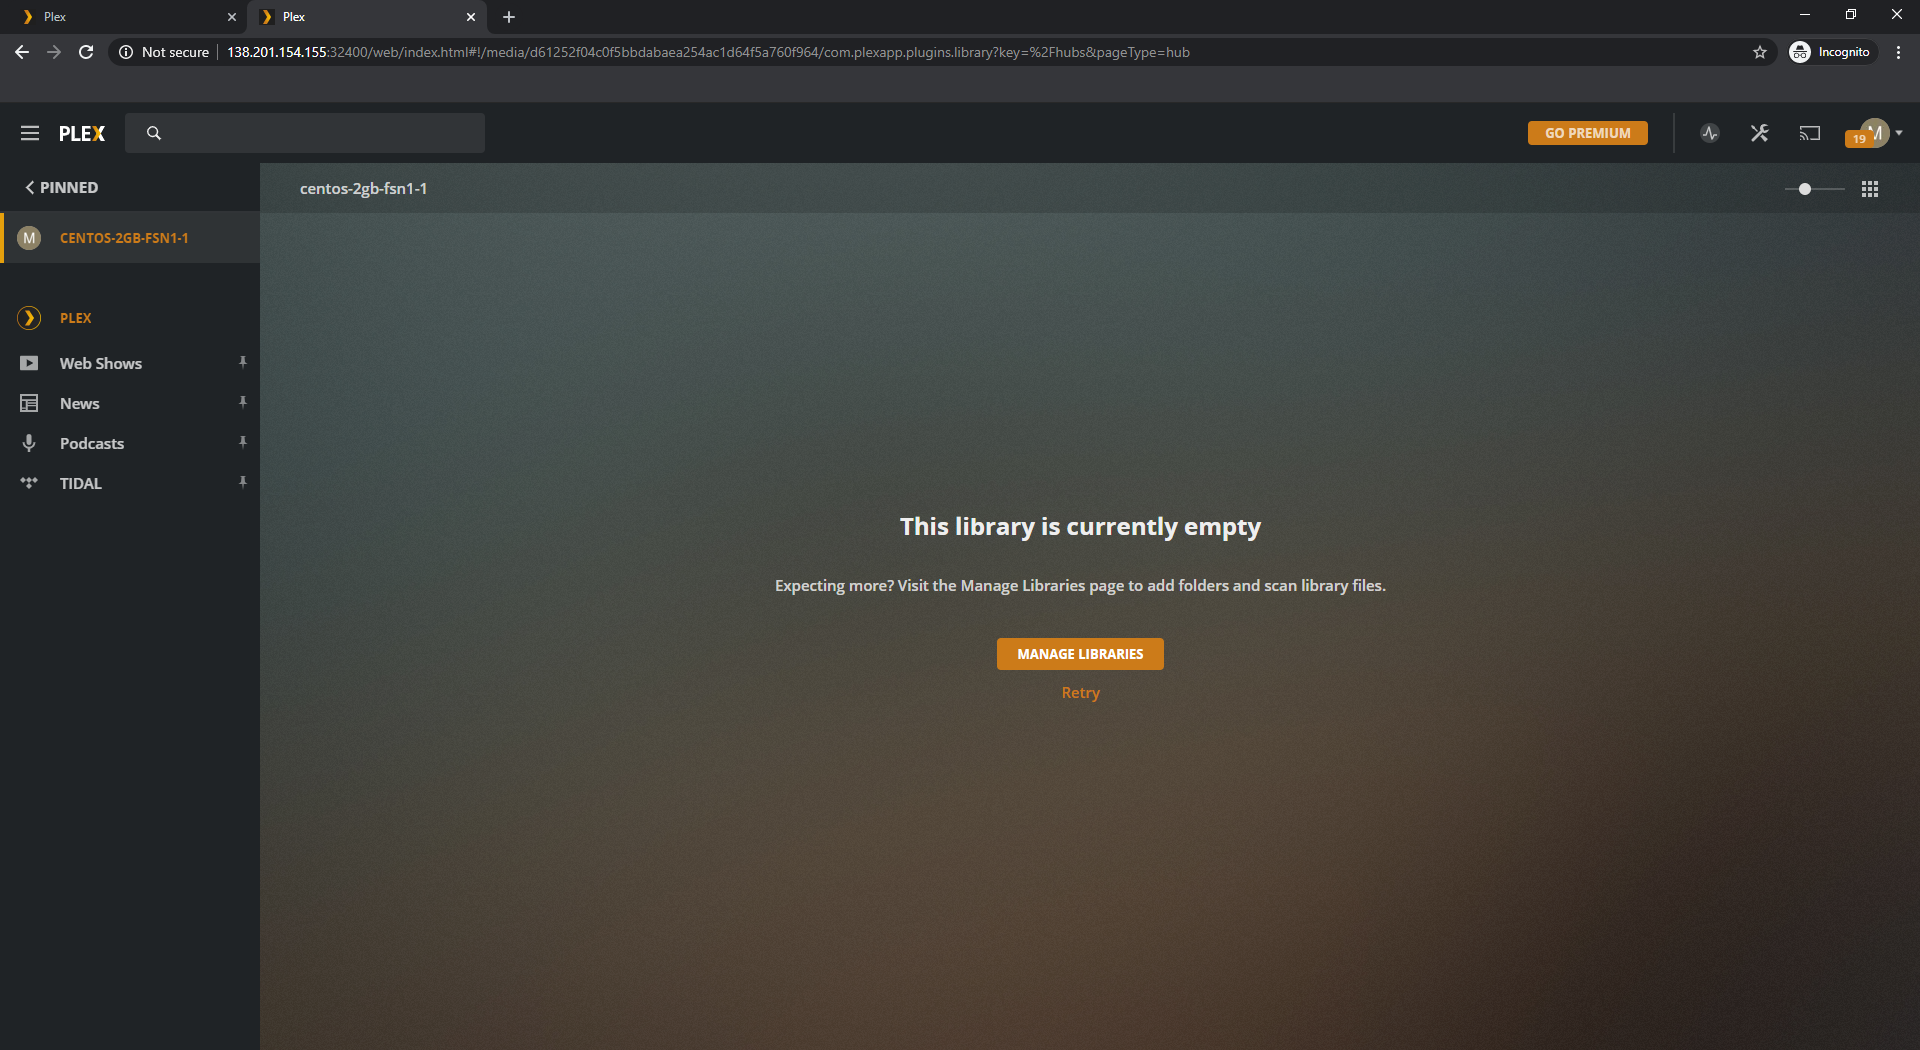
Now come back to our web browser, click on "Manage Libraries" it should open this page:
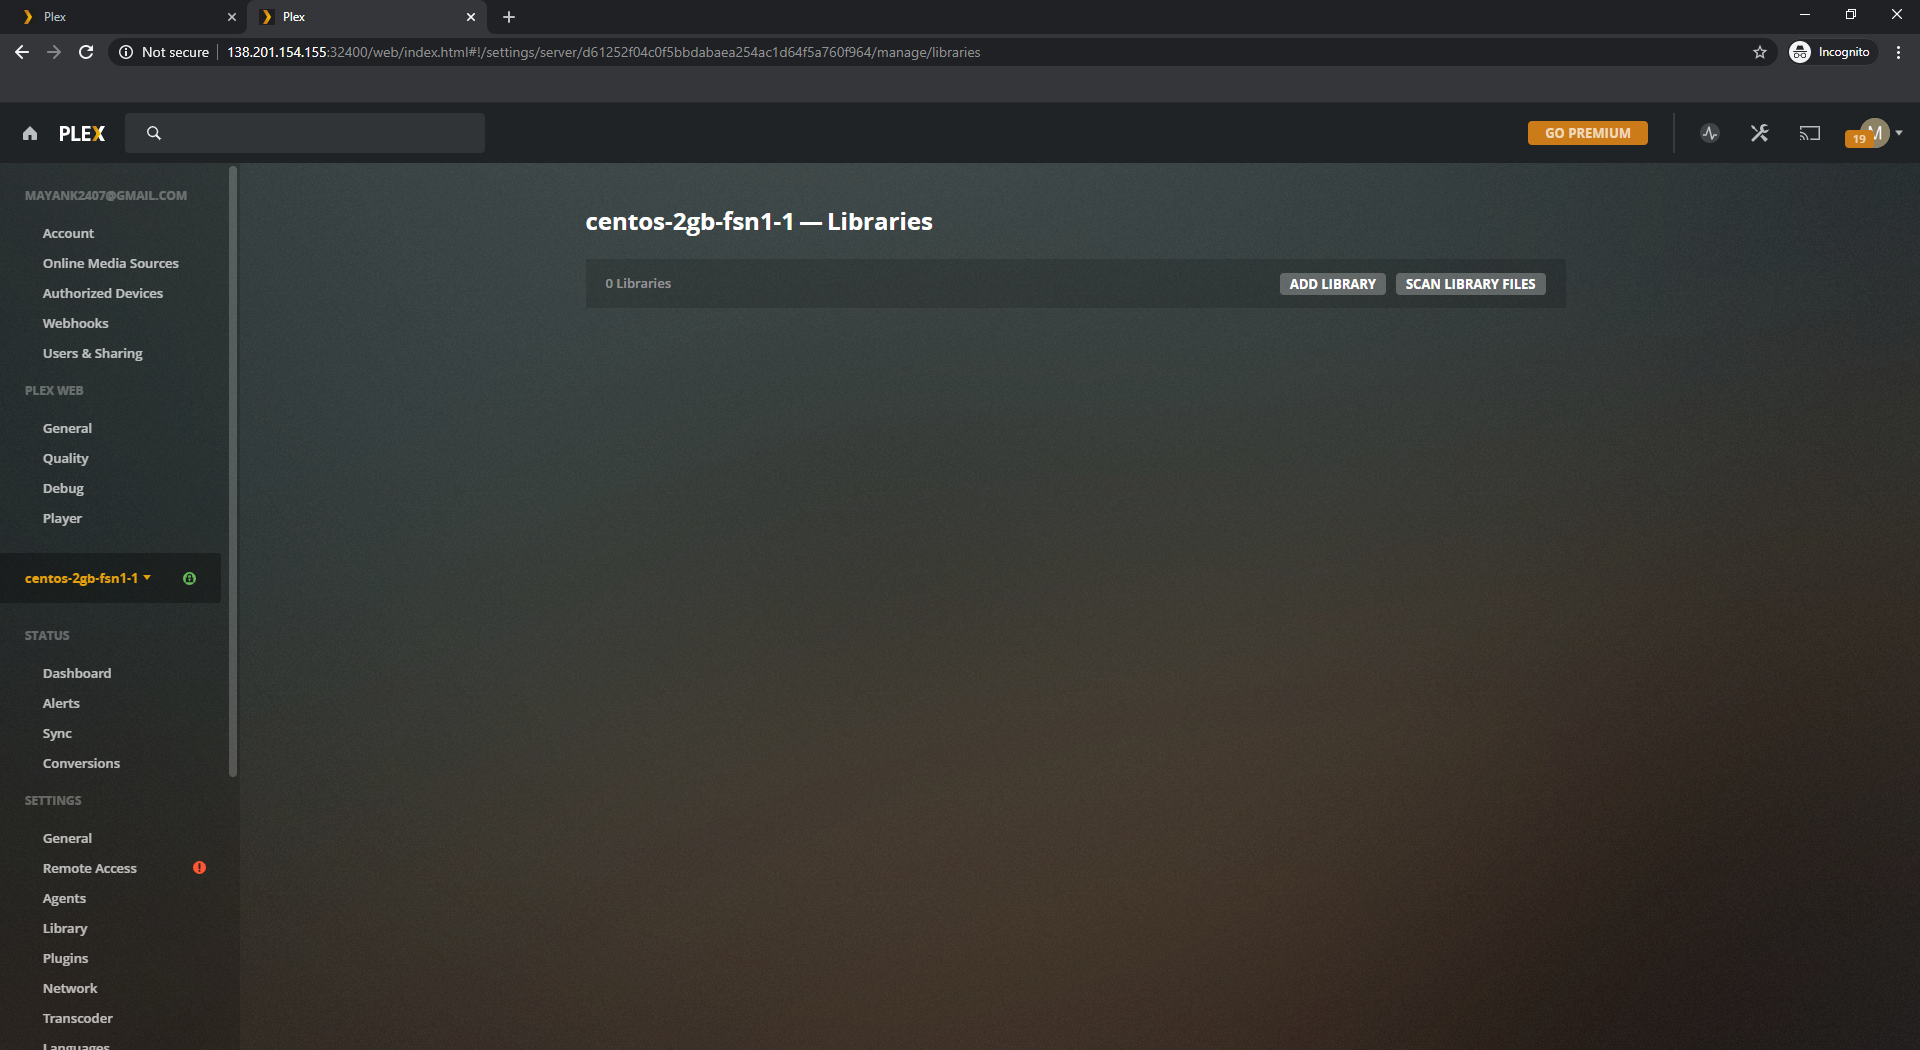
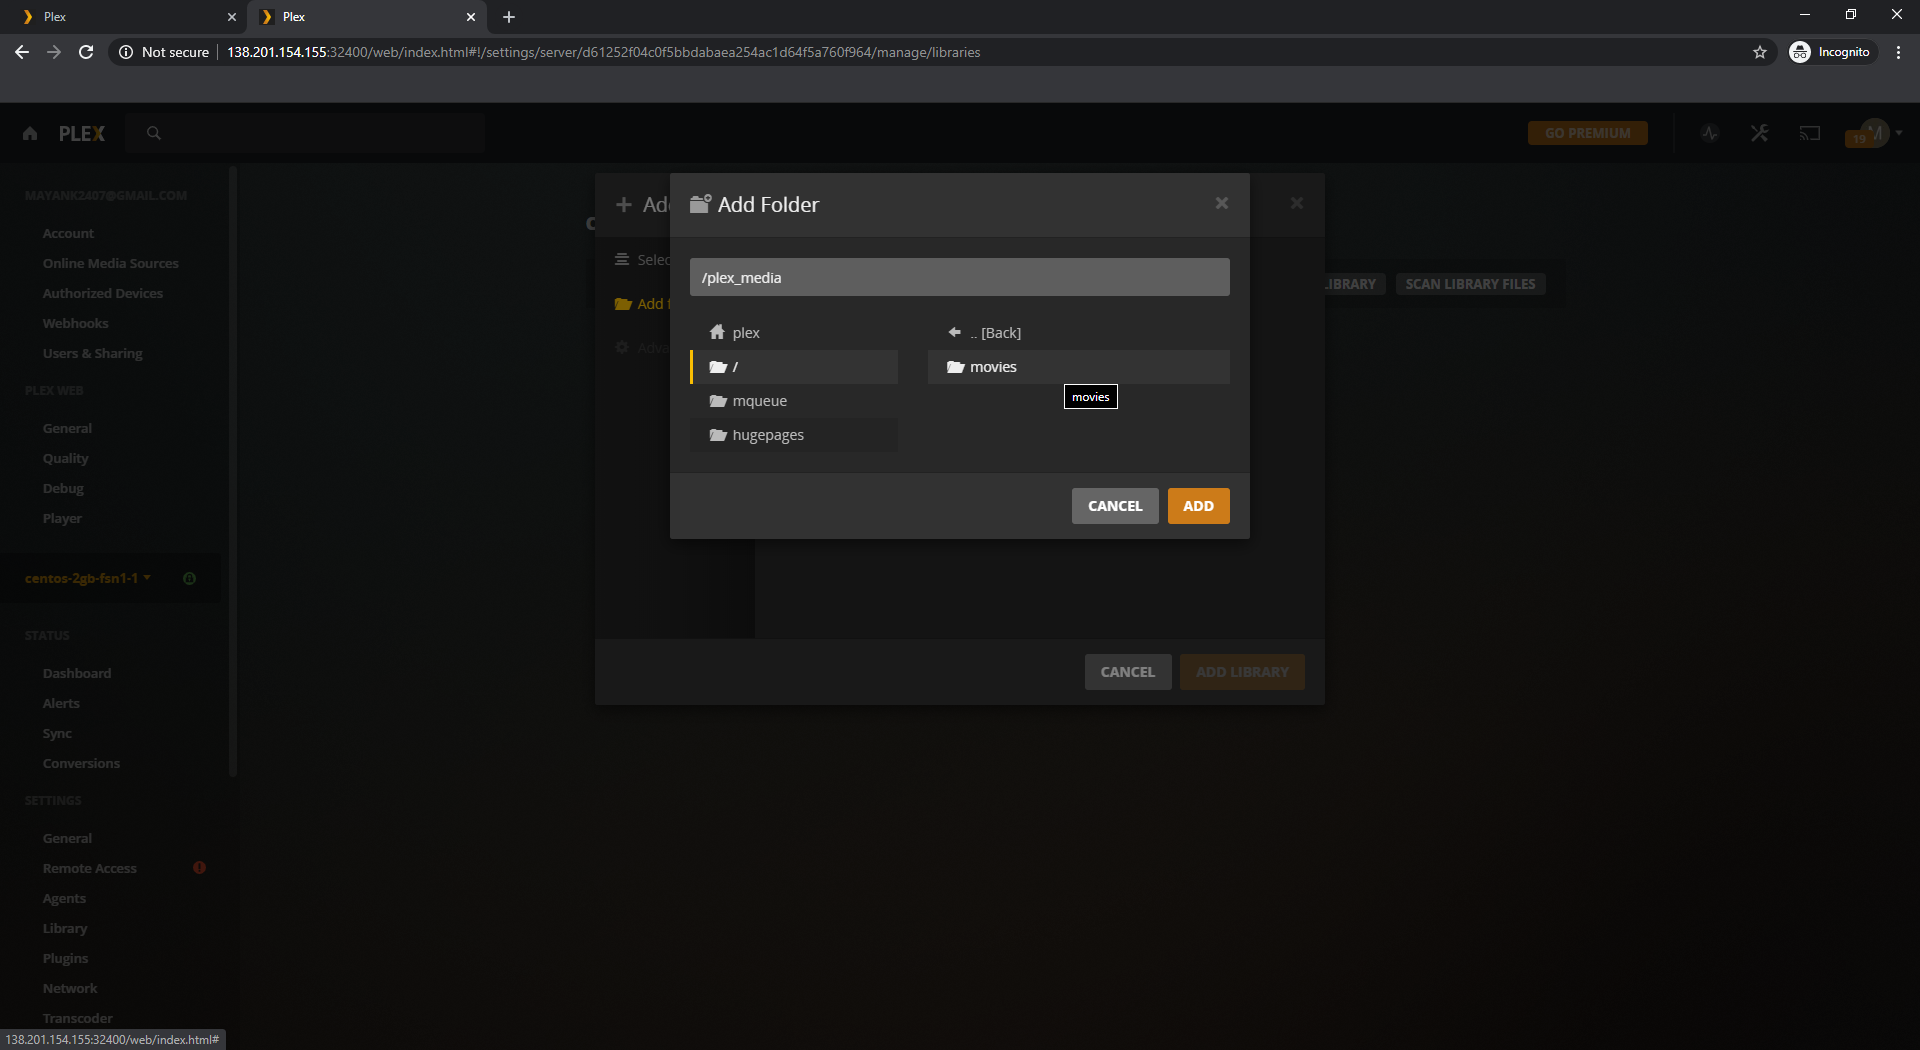
Now click on "Add Library", select the type of library you want to create & click next:
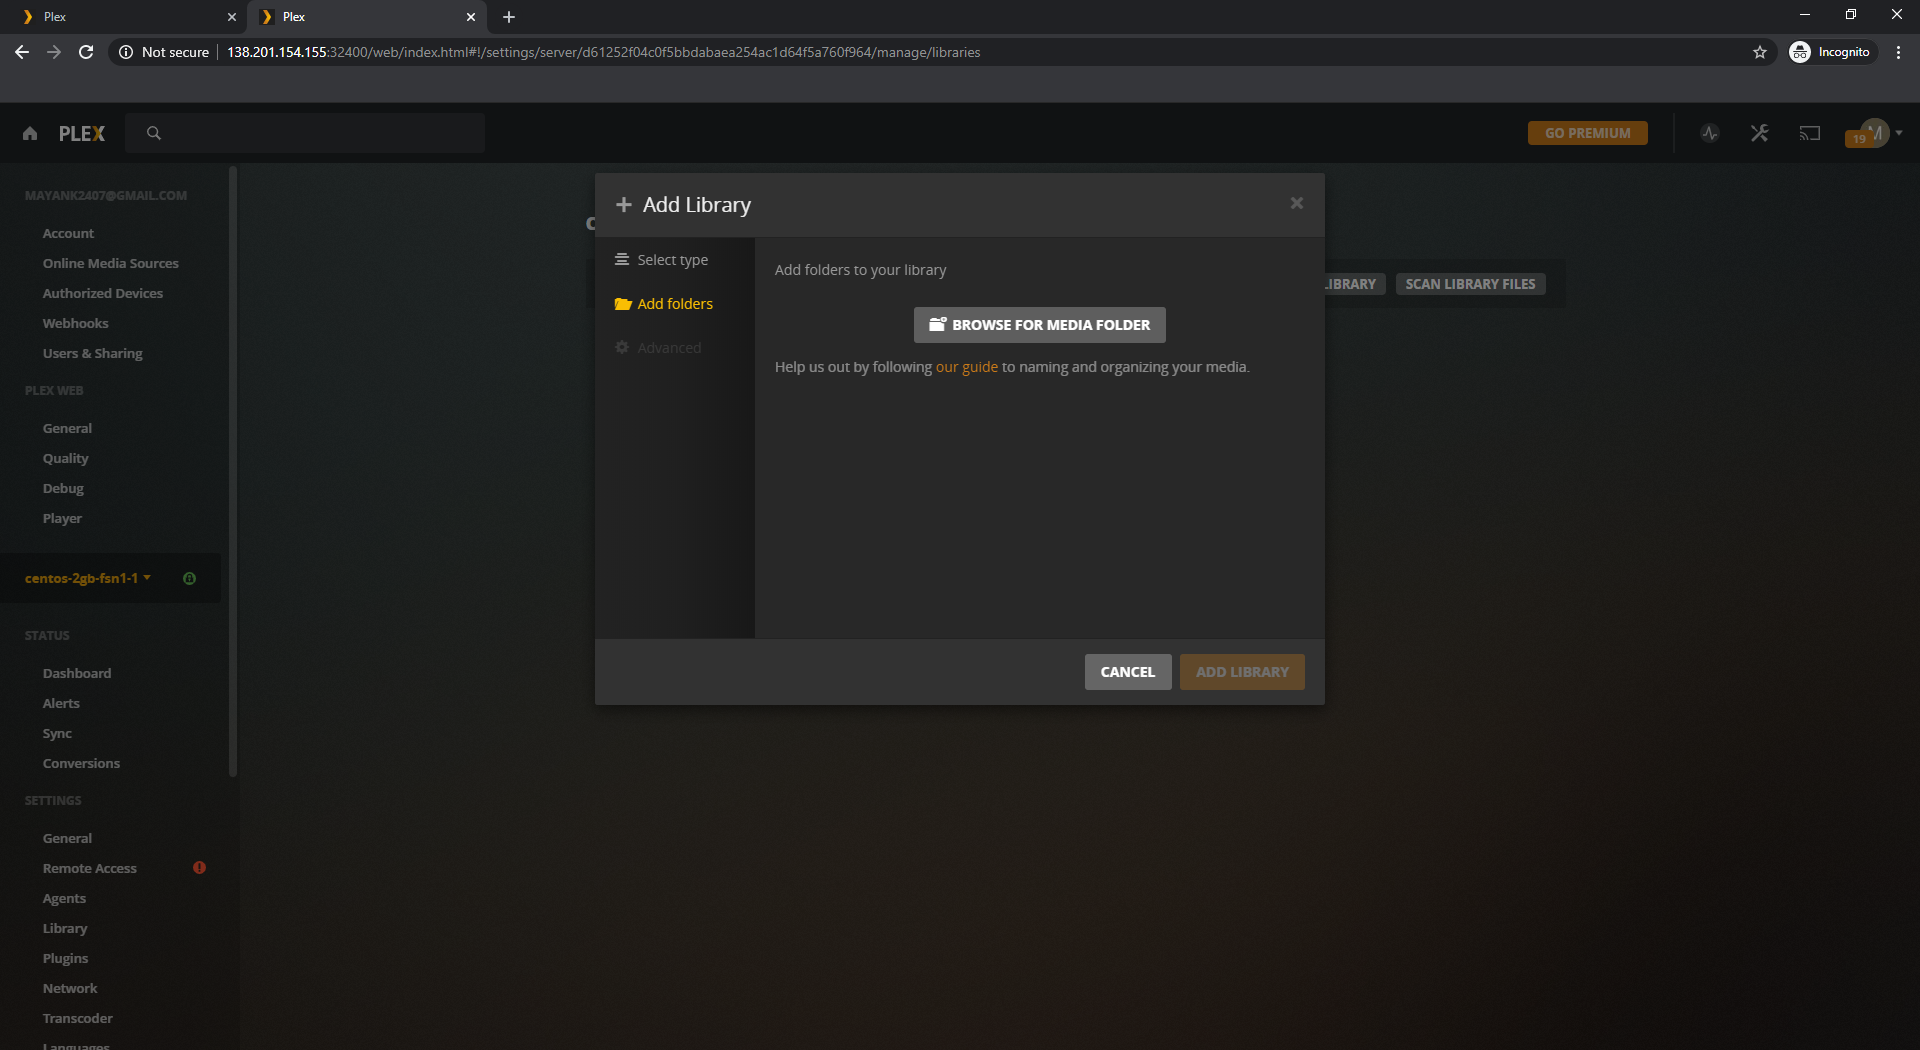
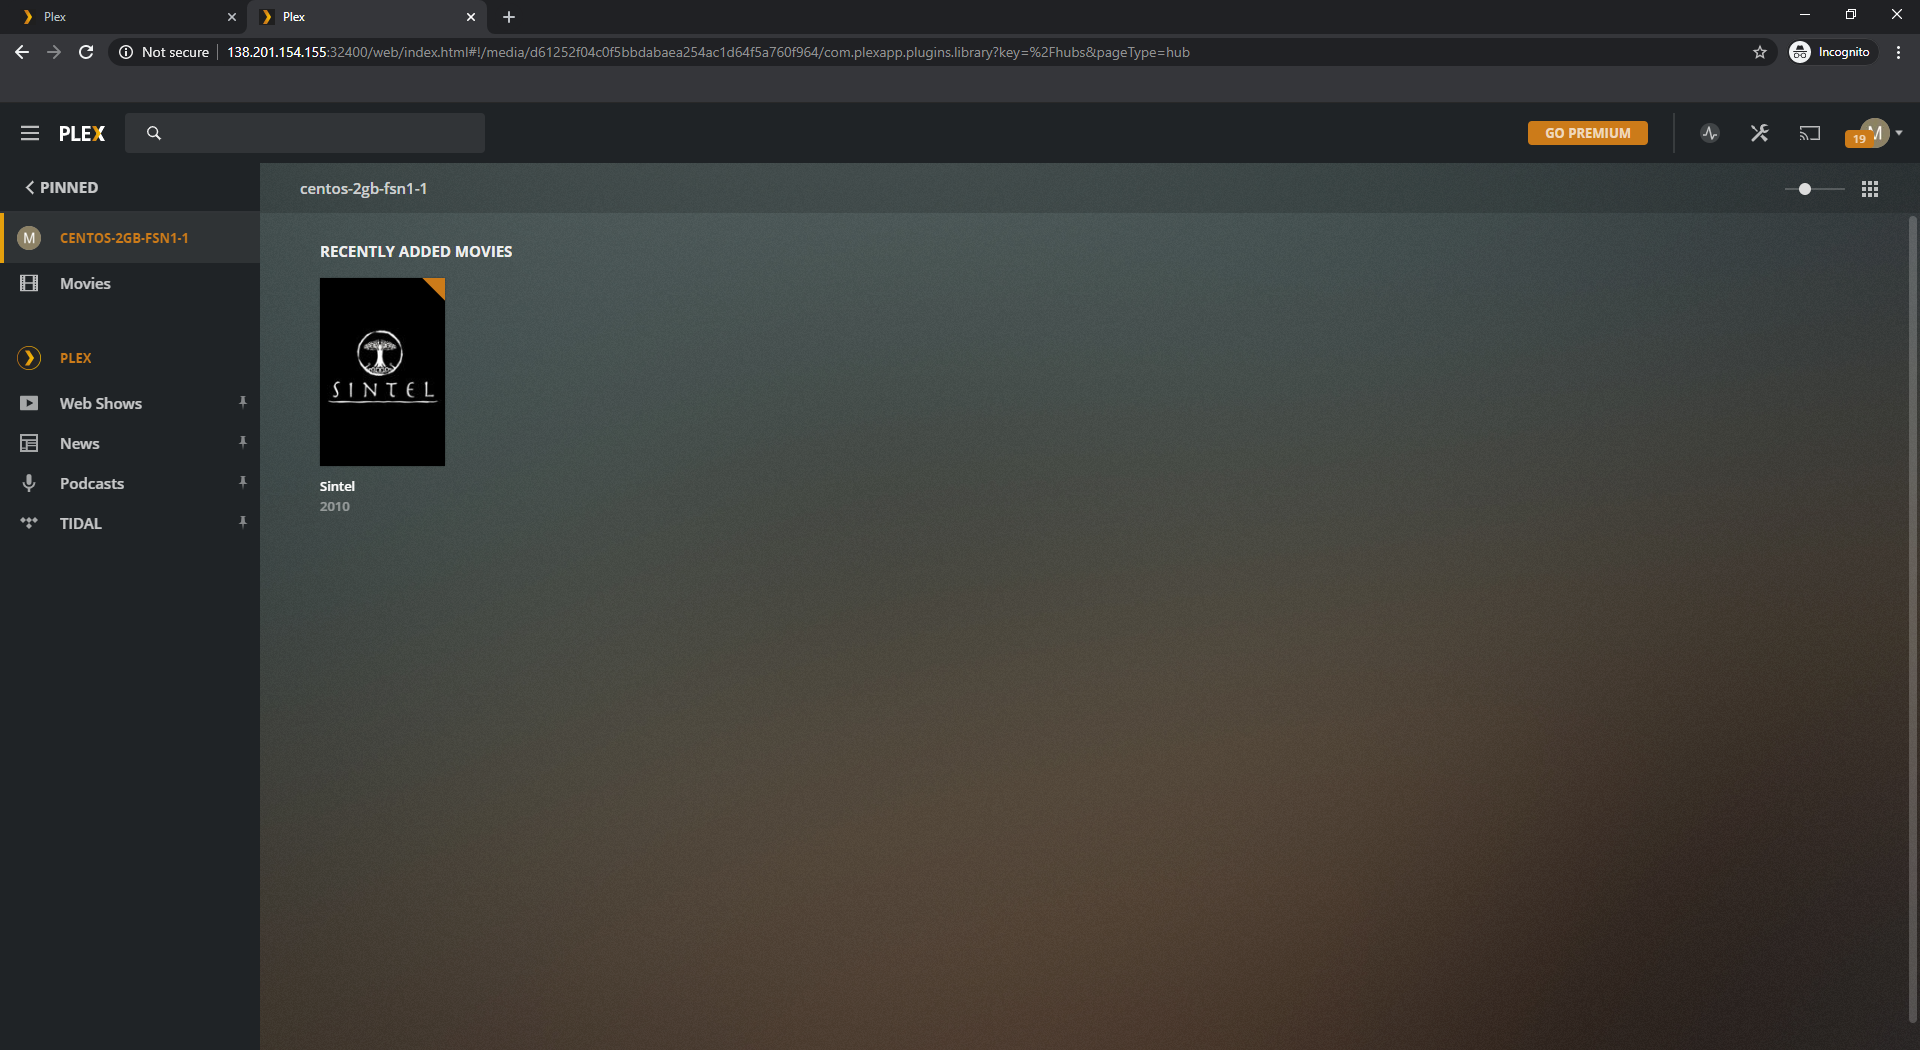
Now just add your directory & Go Back to home, where you'll be able to find the added media files.
Conclusion
Congratulations, you learned how to install Plex Media Server on your CentOS 8 server and to configure it properly. You can refer to Plex guides to do more than just making libraries.