Introduction
Welcome to the tutorial titled How To Install CloudPanel on Debian 10. CloudPanel is a modern server control panel with lightweight components for PHP applications with specific features for all major clouds.
Features
- Secure (free SSL/TLS certificates).
- High Performance.
- Ready to go within 1 minute.
- Supports all major clouds.
- Available in more than ten languages.
Prerequisites
For installing CloudPanel, you will need root access to your server.
CloudPanel needs very minimal system requirements for setup.
- You need an empty/fresh server with Debian 10 (Buster) with root access.
- You must have root access or access to a user with Sudo privileges.
- CPU: 2 vCores
- RAM: 2 GB
- Space: 20 GB
Technology Stack
The technology stack of CloudPanel consists of modern and lightweight components for maximum performance for PHP applications.
- Debian 10.
- NGINX 1.18 with PageSpeed Module.
- MySQL 5.7 (Percona).
- PHP [7.1 to 8.1].
- Redis 5
- ProFTPD 1.3
- Node.js 14
- Yarn 1.22
We are using the below terminology in this tutorial:
- Username:
root(any root privileges user). - Hostname:
cloudpanel-416cd680.nip.io(you can set as you like). - Domain:
cloudpanel-416cd680.nip.io(you can set as you like). - CloudPanel Username:
admin.user(you can set as you like).
Step 1 - Configure the hostname
Important: For hostname, use a sub-domain like hostname.domain.com. If you set your primary Domain (e.g. domain.com) as hostname, then you will not be able to use that Domain for the website inside the control panel.
hostnamectl set-hostname cloudpanel-416cd680.nip.iofor check hostname
hostnamectlYou can see as below output :
Now, we will update our server using the below command.
sudo apt update && sudo apt -y upgradeInstall Wget and Curl.
sudo apt -y install curl wgetPre installations steps are completed, and now we will start CloudPanel installation.
Step 2 - Install the latest version of CloudPanel
To start the CloudPanel installation, run the following command:
curl -sSL https://installer.cloudpanel.io/ce/v1/install.sh | sudo bashOutput looks like:
Step 3 - Login CloudPanel & Create User
Your server is now set up and ready to use. You can log in at: https://your-ip-or-URL:8443.
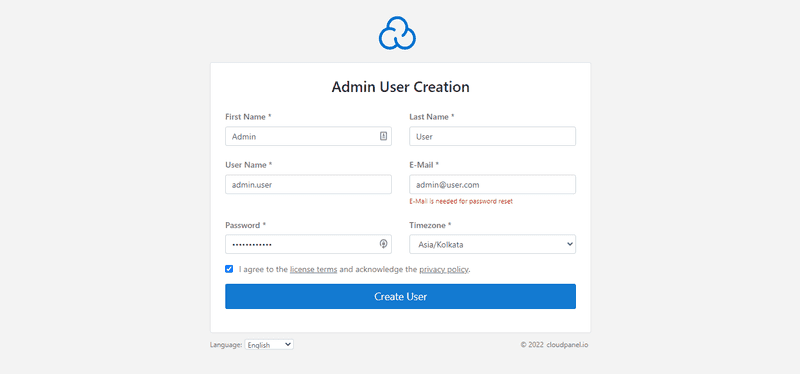
CloudPanel use self signed certificate for SSL, so ignore "Your connection is not private" warning. When we log in the first time, we need to create an admin user.
Now enter all the required details like Name, User Name, Password, etc., to create an Admin account. Make sure you save this username and password.
Once your Account is successfully created, you can log in with your created admin user.
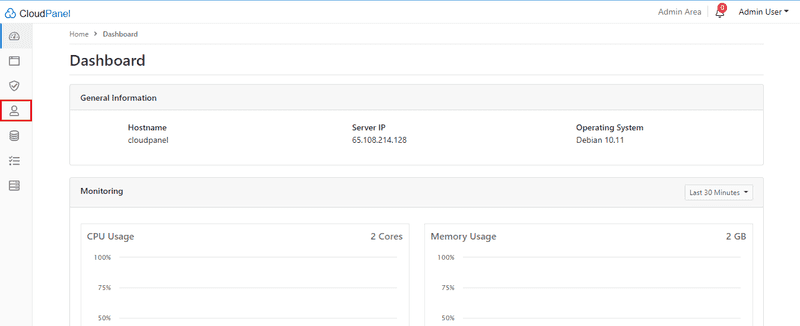
Dashboard of CloudPanel
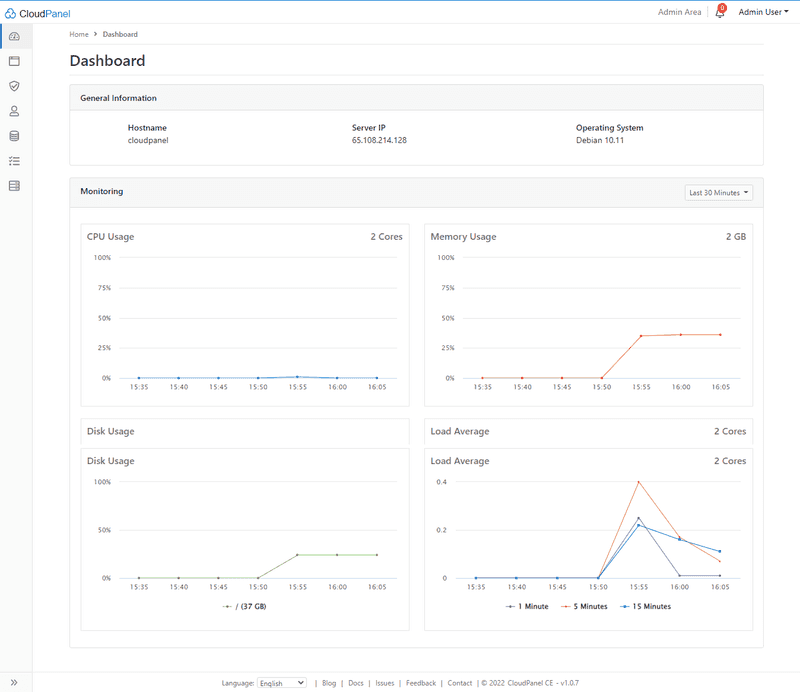
Your setup is now done! CloudPanel dashboard looks like this:
Step 4 - Important Settings
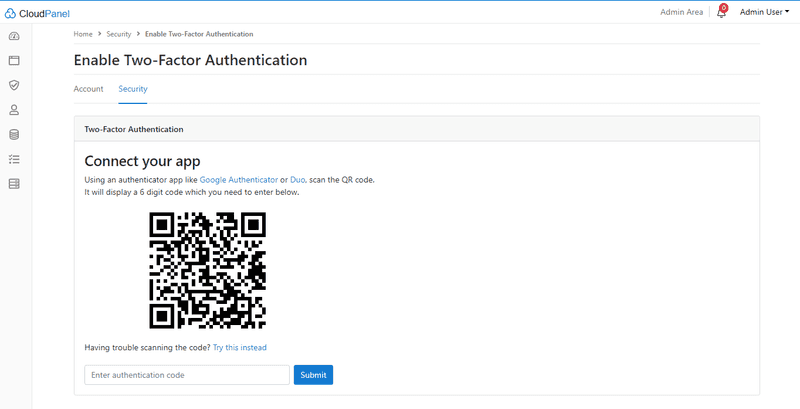
- Secure server with Two-Factor authentication.
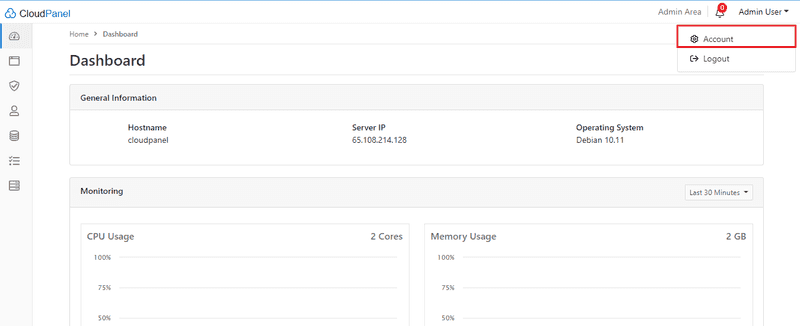
Go to Account under Admin User.
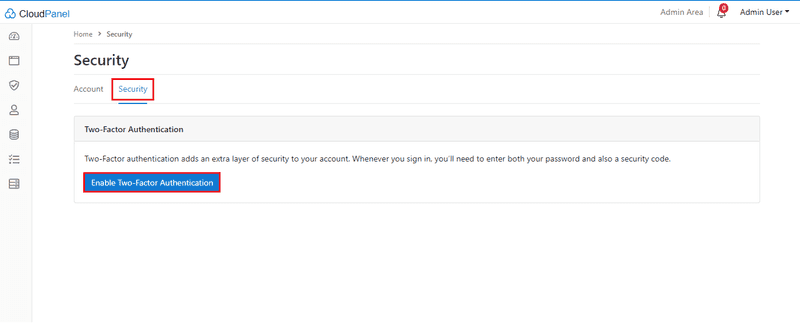
Click Security and enable Two-Factor authentication.
Using an authenticator app, scan the QR code. It will display a six digit code which you need to enter below.
- Block unwanted IP addresses.
Go to Security under navigation.
Add IP address whichever you want to block.
Step 5 - Add Users
So, the basic setup is completed; let's add our users.
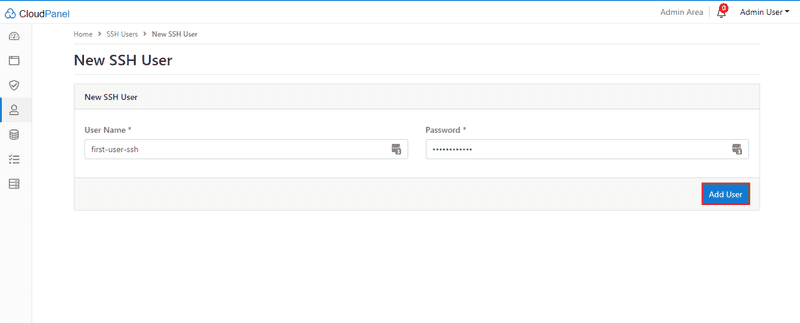
SSH Users:
- Go to Users under navigation.
Click to Add User, add username/password and save it.
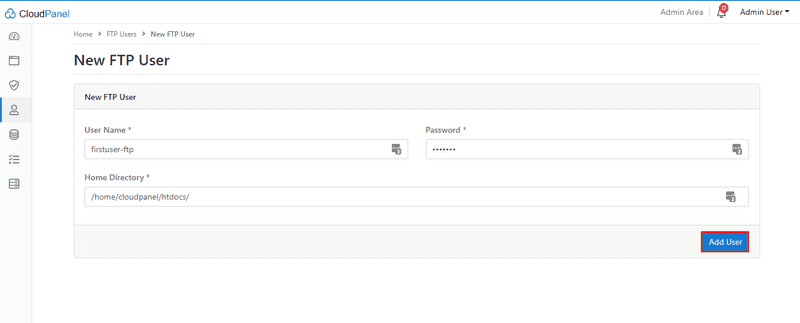
FTP Users:
Go to Users under navigation (same as the above step). Select FTP Users. Fill up all Username/Password and home directory and click to Add User.
Step 6 - Add a Domain
- We just created an Account. Now, Let's add Domain.
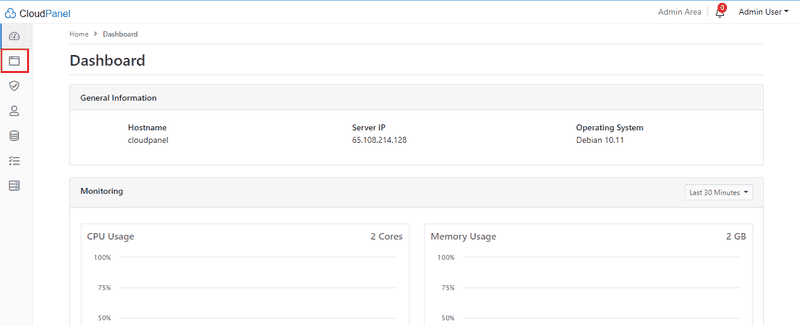
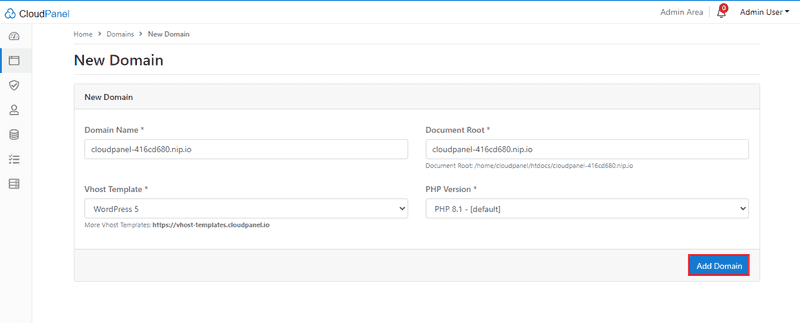
Go to Domains under navigation.
Fill up your domain name, select Vhost Template & PHP Version and click to Add Domain.
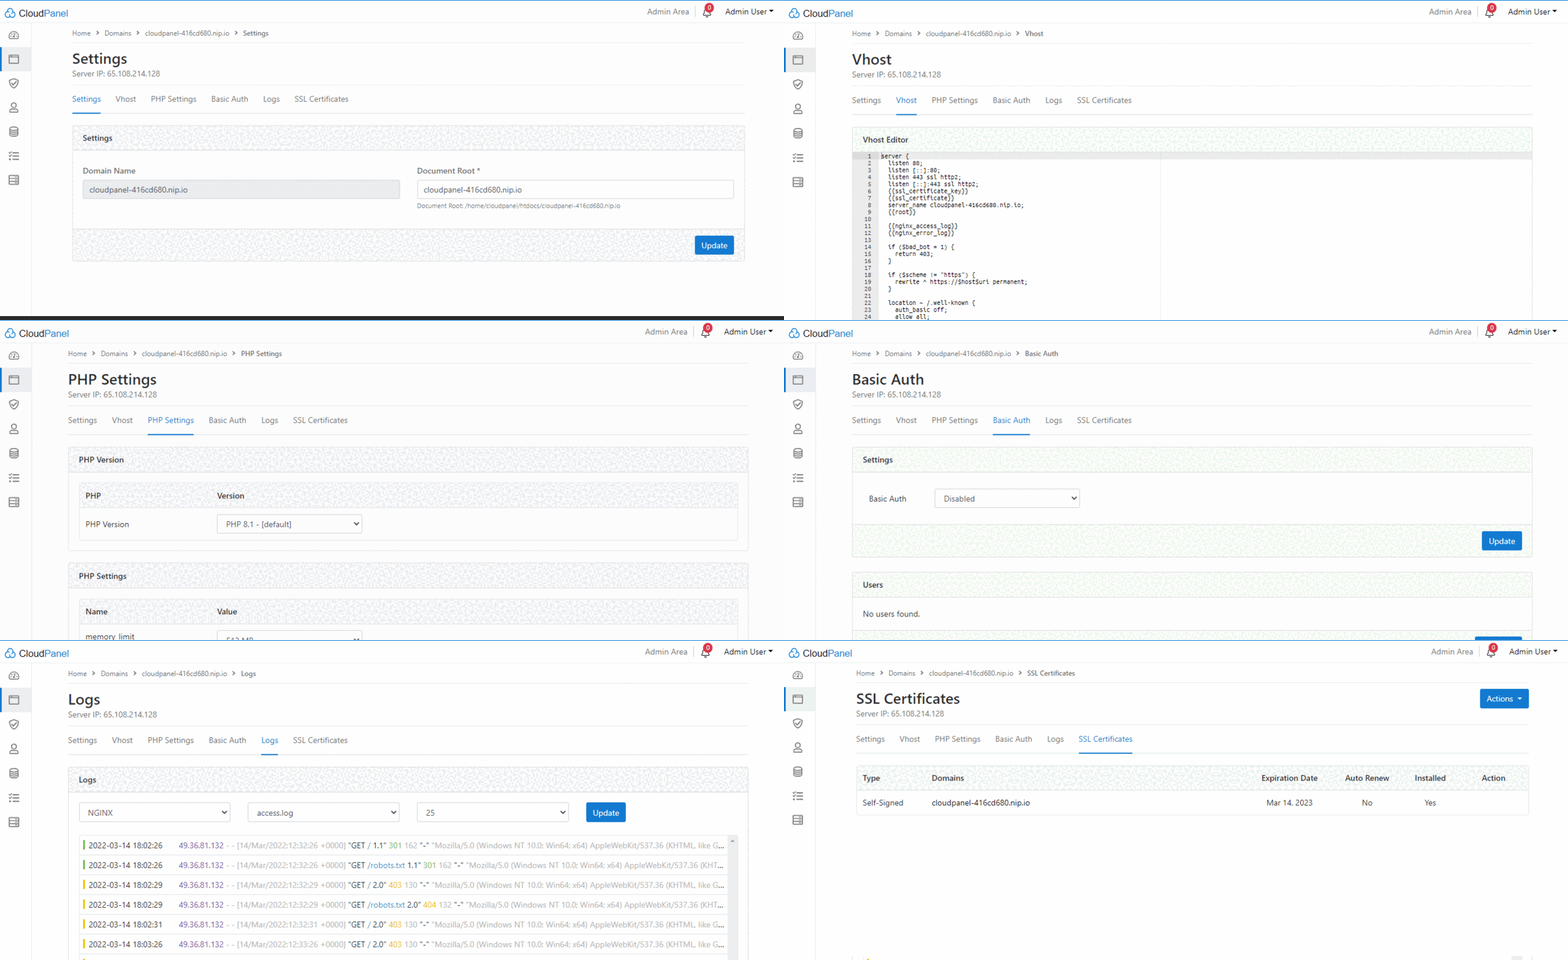
You can change domain settings; just click on the Domain link, and you will see domain setting as below:
Step 7 - Add a Databases
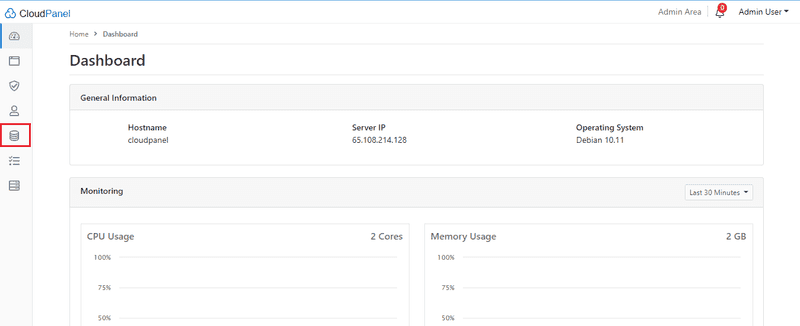
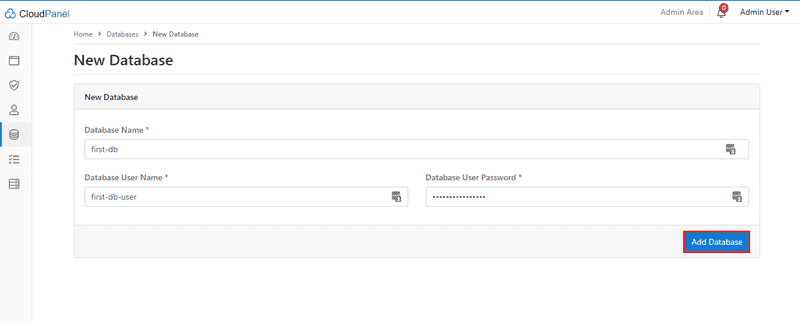
Let's add our first database. For adding a new database, click the database icon.
Click on Add Databases, fill up database name, username, password and save it.
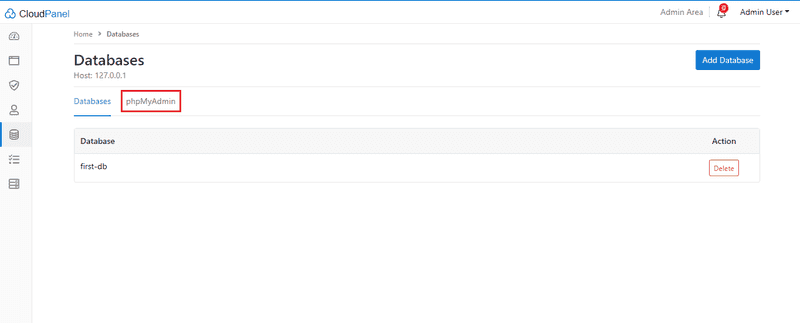
- PhpMyAdmin
Click on phpMyAdmin under databases for open PhpMyAdmin on new tab.
Step 8 - File Manager
CloudPanel doesn't provide a File Manager; you have to use any FTP or File Manager tool (our recommendation is to use FileZilla) to manage your files.
Step 9 - Cron Jobs
Cron Jobs are used for scheduling tasks to run on the server, with help of cron jobs, you can perform scheduling tasks to be executed sometime in the future.
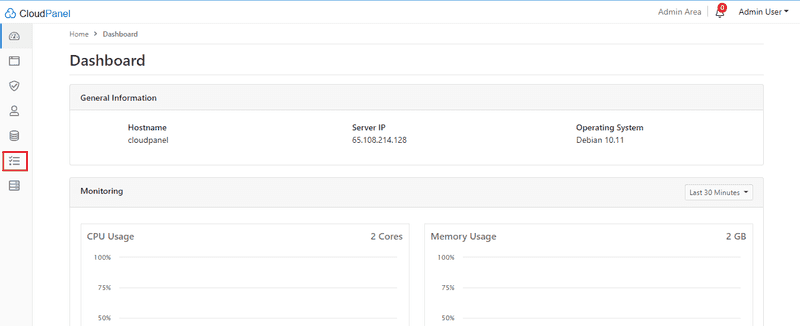
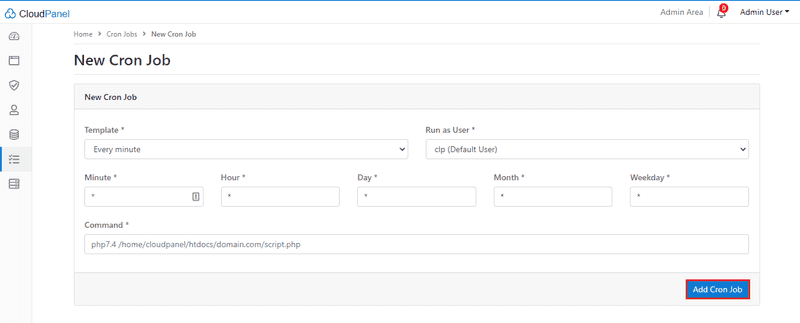
- Go to Cron Jobs under navigation.
Click to Add Cron Job, add cron data and save it.
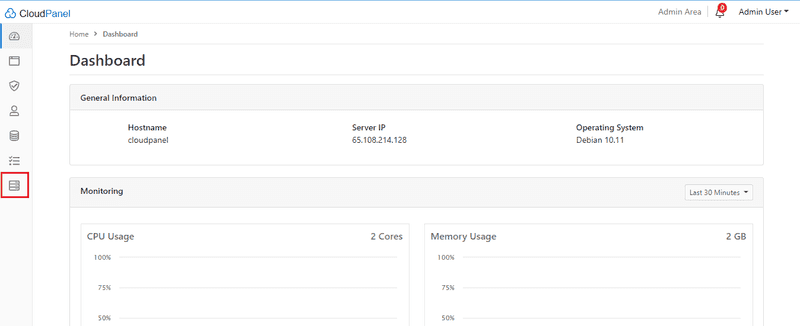
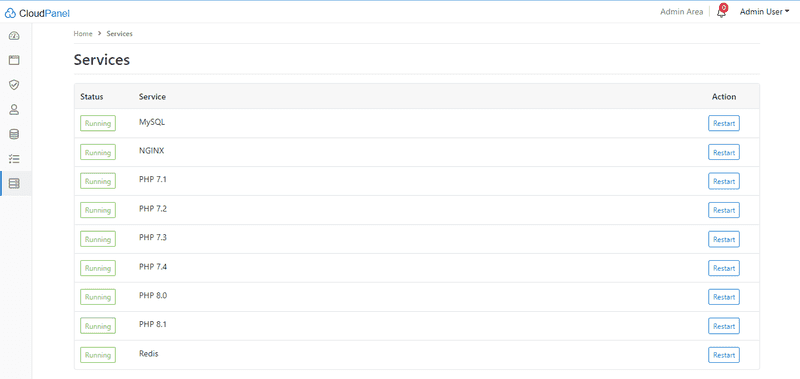
Step 10 - Services
From here, you can check and restart services such as SQL, Nginx, PHP & Redis.
Services page looks like:
Admin Area
We learned about Users, Domains, Databases, Cron, Jobs and Services. Now we look Admin Area of CloudPanel.
- Go to Admin Area to open it.
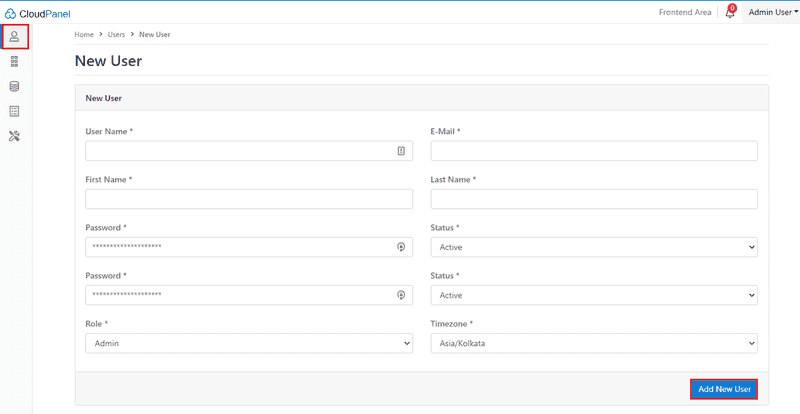
- Users :
- You can Add or Delete users from here also; you can give admin roles.
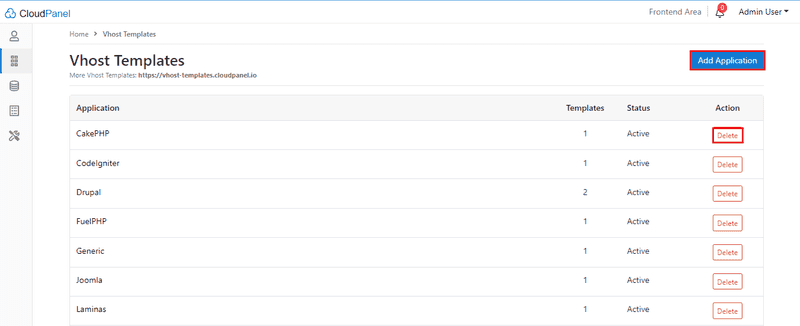
- Vhost Templates :
- You can Add or Delete Applications from here.
- database Servers :
- You can Add or Delete Database Servers from here.
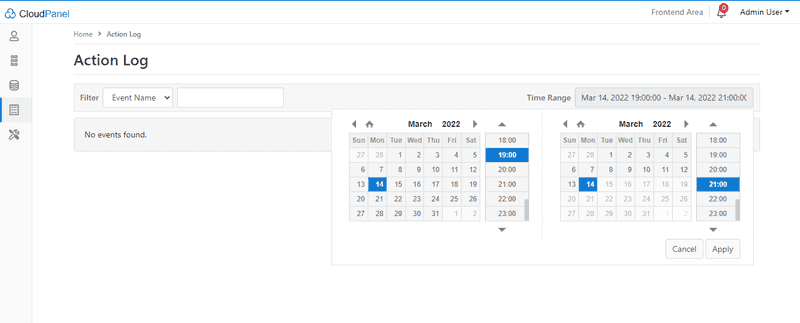
- Action Log :
- You can check logs from here.
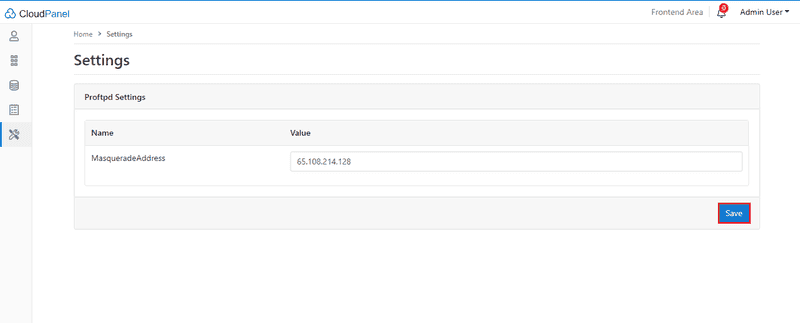
- Settings :
- Last but not the least step, from here, you can change Proftpd settings.
Conclusion
In this tutorial, we learned How To Install CloudPanel on Debian 10. Give it a try!
Cheers!!


