Introduction
This article is about using automatic certificate allocation on cloud Load Balancers with externally provided domains.
Prerequisites
- A top-level domain, e.g.
example.com - DNS hoster with the possibility to create
NSrecords - A cloud Load Balancer
Step 1 - Creating the Hetzner DNS zone
This step explains how to create a DNS zone in Hetzner Console for the domain example.com. Later, the Load Balancer will use this zone to process the _acme-challenge.
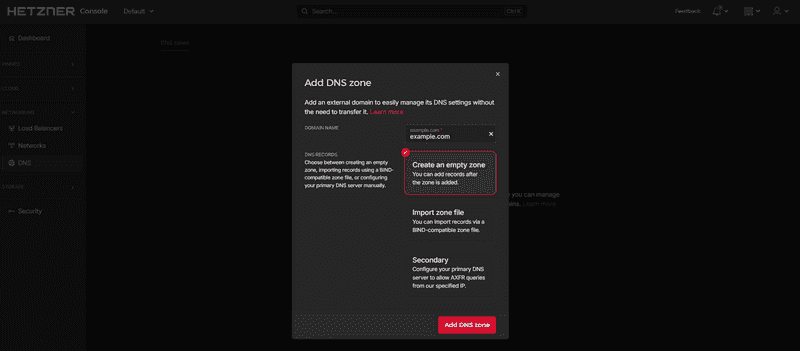
You can create a new DNS zone at console.hetzner.com.
To do this, simply specify the name of the domain.
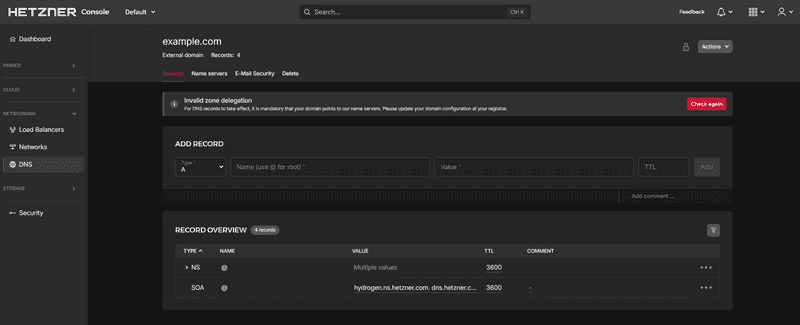
The created DNS zone should now look like this:
The zone should only contain NS records and a SOA record. You do not need A, MX, or similar records.
If your DNS zone is in a different project than your Load Balancer, you have to enable Share zone with other projects (see official FAQs).
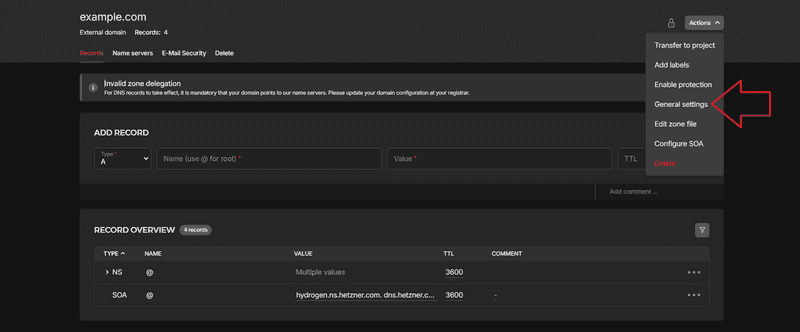
To enable this option:
- Click on "Actions" in the top right
- Click on "General settings"
- Enable "Share zone with other projects"
Step 2 - External DNS configuration
Now we have to redirect the DNS zone _acme-challenge.example.com of the external domain to the Hetzner DNS zone.
To do this, you need to create several NS entries at the respective DNS hoster.
These are structured as follows:
_acme-challenge.example.com IN NS hydrogen.ns.hetzner.com.You can take the DNS servers from the Hetzner DNS zone.
You should create a NS record for each DNS server at the external DNS hoster.
For Cloudflare, the configuration would look something like this:
Step 3 - Setting up the Load Balancer
You must now set up a TLS termination service in the Load Balancer.
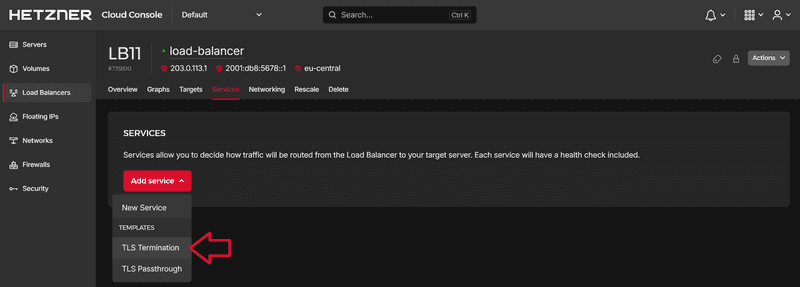
Open Hetzner Console, navigate to your Load Balancer and select "Services". Next, click on Add service » TLS Termination.
Note how the traffic is forwarded from the Load Balancer to the cloud server. The default setting here is unencrypted transmission via
HTTPand the public interface of the server. Here it would be urgently advisable to deposit a self-signed certificate on the service and to configure the Load Balancer toHTTPStoHTTPS. In addition, you can also route the traffic over a private network, which must be configured first.
During service creation, select CERTIFICATES » + Add certificates and click on Create certificate. For more information about the difference between Create certificate and Upload cerificate, you can see this FAQ entry.
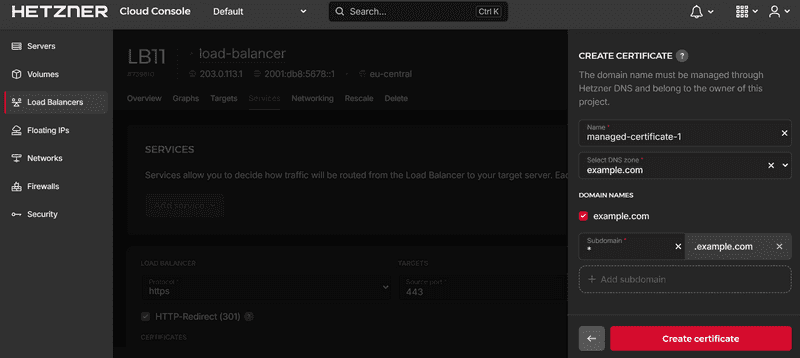
Next, enter a name and select your DNS zone. Select the DNS zone created above.
You can issue either single sub-domains (
ssl.example.com) or wildcard certificates (*.example.com). In the example above, it is a wildcard certificate.
After that, the certificate setup is complete. Now, you can go back to Hetzner Console and create the DNS entries required for the respective service. To do this, simply create a new A record that points your (sub-)domain at the Load Balancer. For example:
| Type | Name | Value |
|---|---|---|
| A | ssl.example.com | <load-balancer-ip> |
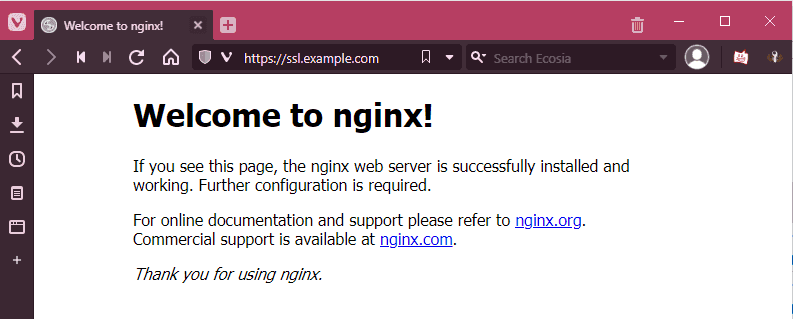
After that, the service will run under the TLS certificate.
Conclusion
This article showed how to use the Let's Encrypt feature of the Load Balancers with an external domain, without having to move the domain completely.
